here's how I got started...

here's how I got started...
a 20 minute podcast by Crazy BeYOUtiful

Friday, August 29, 2014

alphanumeric stamping & NEW Ranger products...

I've recently had some good GREAT mail days, which inspired me to play...

first up, Ranger introduced some new adhesives...
I am IN LOVE with the adhesive sheets & I'll show 2 REALLY fun ways to use them in this post...

also in that fun box of goodies was the new foil sheets...
they come in 3 different color sets...I'll use the vintage package today...

the next package that excited me contained tim's new alphanumeric from Sizzix...

I knew I'd like these...but NO...

I'm IN LOVE!
they are so flippin CUTE & VERY useful...

they are the bargain of the century...
trust me...just wait 'til you see...

ok...let's get started...I covered a scrap of clearly for art (CFA) with the new adhesive sheet...
just remove one side of the backing paper & lay it over the CFA...


 next, I removed the remaining backing paper & pressed a sheet of the foil onto the adhesive...
I didn't press everywhere...I wanted a vintage/worn effect...


and now the flower looks like this...
one side is foil & the other is CFA...


I tapped on some potting soil archival & dried it...


the second flower is made exactly the same way, but with this really cool bronze foil added in the bare spots...


here's my 2 flowers...


next I added some stamping over the flowers, with watering can archival...

I used the vintage mesh background on the top one...
and some numbers on the second...
I lightly heated the CFA  to soften the material so I could shape the petals...

***DO NOT overheat the CFA when it's covered with the adhesive sheet***
just warm it enough to soften it...


to create the card base, I started with a 3 ¼ inch x 5 inch manila scrap...

when creating large backgrounds  I'll use the archival reinkers with rubbing alcohol...
but since this is a small piece, I swiped the hydrangea & tree branch archivals into my craft sheet & added one drop of the metallic mixative...
I'm seriously addicted to the gold...

and in the photo below you'll see that I added plenty of rubbing alcohol to make the inky solution...

I used the palette knife to mix the alcohol into the ink...


then laid the manila cardstock in the inky solution...
the manila will quickly soak up the fluid...
but magically...it does not warp the cardstock, like plain old water does...

next, I dried it to get this awesome background...


the alphanumeric dies are awesome for their original purpose...die cutting...
but they can also be used as stamps...

Paula Cheney wrote a post about storing Sizzix & mentioned a cool thin magnetic sheet that she purchased at Home Depot...
here's the link to that blog post...

hello...dear Rick...I LOVE YOU...
please run to Home Depot & get me some...
I have an idea...

here's how to stamp with the little letters...

since they are ¾ inch tall, I cut the magnetic sheet to ¾ inch...
that makes it simple to line them up straight...

next, I added a strip of wonder tape to a gridblock...and that securely holds the magnetic strip in place...

on my test drive I realized that the magnetic strip needed to be raised to prevent any excess ink from the gridblock transferring to the background...

the simple solution was to add a second ¾ inch magnetic strip over the original...

since there is no cushion with this "stamp", it works best to stamp with the alphanumeric dies on a mouse pad...
the results are MUCH better...

remember to line up the letters backwards...
it should look like a rubber stamp...

I added small pieces of tape to remind me where the letters are...
that makes it easier to center...


tada...

stamping with alphanumeric dies!


imagine all the words you can stamp...in any orientation!


I stenciled basically bricks on the background with tree branch archival...


 it looks like this...


here's a fun way to change up the in full bloom SiSi...

I wanted just 5 of the leaves, so I masked off the unwanteds with painters tape...

the SiSi comes with a coordinating stamp, but I didn't use it this time...


with the leaf green added and the stencil still in place...


I used watering can archival to stamp into each leaf...

I chopped my large collage background stamp into 9 mini stamps...

unmounted stamps are the easiest to use when stamping thru a stencil...


and now the leaves look like this...


and with the stencil removed...


THANKS seemed to be hanging, so I stenciled a checkmate border on the top & bottom of the panel with potting soil...


and now it looks like this...

you'll see in the final photo that that partial stencil on the bottom bugged me, so I chopped it off...


next I stamped the flourish twice with jet black archival...


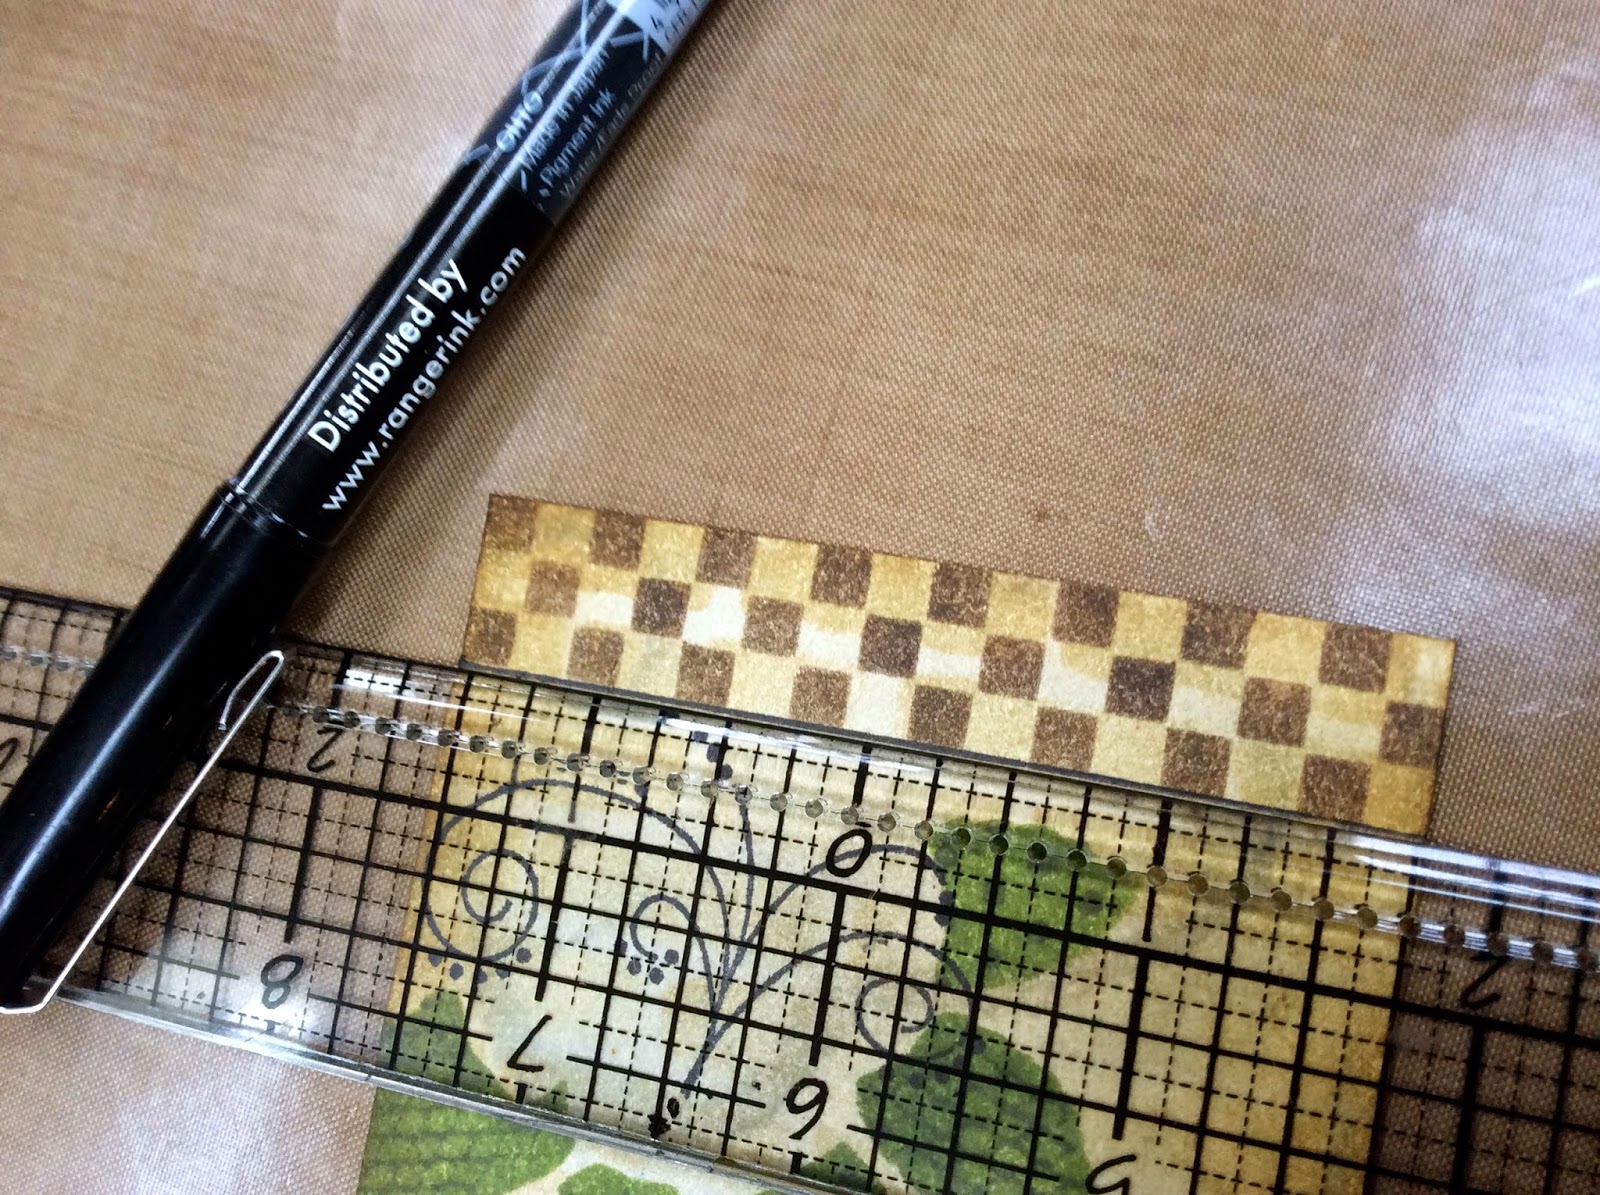
I used the black fude ball pen to define the stenciled edges and to pen stitch around the edges...


remember I told you about the new adhesive sheets?

this idea is flipping fab...

I cut a small piece, just large enough for 2 buttons...


to alter the buttons, remove one backing paper & press it onto the button...
cut around the button, leaving some extra...

remove the backing paper & press the extra to cover the sides of the buttons...

the bottom button shows how it starts & the top shows what it looks like when the foil is added...
again, my goal was to not press everywhere so that the button would look rusty vintage...

adding adhesive to the button sides allows foil to be easily added for a professional effect...

think about all the buttons & embellishments you have & this is a super simple way to change them up...

I WILL be doing this LOTS more...


if it's not moving...I probably will stamp it...


now I glued it all in place...

and I added it to a black card using the new adhesive foam tape roll... IN BLACK...
perfect, because it's not noticeable/distracting from the side...
ps...it does come in white too...
but it also comes in BLACK!

the finale was to use a star punch with black cardstock & add 3 stars...
2 to the button flower centers & one to accent THANKS...

I also added a bit of shading with the stabilo pencil...

photographing metal is not my best skill...


the glare was driving me crazy...
here's a closer look at the flowers...


and another shot at my final card...

the little black frame makes it pop...


I originally planned to color in "thanks" with a distress marker...
but for now, I think I'll leave it like it is...

these are some new techniques I will be using again...

altering with foil...
CFA faux metal flowers and
stamping with alphanumeric dies...

and a reminder of an old technique...
using just a small portion of a stencil...

one more thing...
SUPER convenient...
it has several widths in the package...
LOVE IT LOTS!

think about using the adhesive strips to add a border with the new foils...

Simon Says has a discount code...
if you happen to be shopping this weekend...

use SHP799 to receive $7.99 off a $75 order!

it's always fun to discover a new technique when you...

make art!
wendy
ps...thanks for stopping by. to my USA friends...
have a wonderful LONG holiday weekend!

Monday, August 25, 2014

another art journal page...

 happy Monday!

I had a play day yesterday & created a few pages in my art journal...just for fun...and just for me...

but then I decided to share them...

so... no step out photos... 
yes..this IS still my hobby...I REALLY LOVE IT!

I wanted to use Sassy...
each wood mounted stamp must have a name, so
that's her official name in the new flyer...
she looks like she has an attitude...
thus her name...


below is one of the pages I created...
it's 5 ¼ inches square & it's a nice size...
not too large...not too small & I like that I've not seen square journals in stores...

I'll show you that in an upcoming post, but the link will show you what it looks like...
the frame actually has a design etched right into the art part...

I love combining older stamps & stencils with newer ones...
new is nice...that's for sure...
but it's also fun to revisit the oldies...

here's a few of the supplies I used...

a manila cardstock base...
with tree branch archival ink with rubbing alcohol & gold metallic mixative for background...(you have been warned...it's addicting)!


it's from the first stencil release...
and a great basic go-to...

the heart is a manila scrap stamped with the reverse dots background stamp, using carnation red archival...then die cut with tim's Sizzix movers & shapers heart...
the reverse dots background stamps the background NOT the dots...
this is a great stamp when you need to add a pop of color...


"make art" is part of a REAL oldie, all the way back to my second release, January of 2009!
it's from LCS008...
I used just the top part of the circle...

you'll notice the bow is different than the package photo...
I changed it after I got my prototype...
the bow on this journal page is now on the stencil...

LOVE LOVE LOVE the flourishes...LOTS!
they're on the set with Sassy...
they fit on lots of projects from cards to pages...

the Sassy stamp was inked with jet black on her face & hair...red geranium on her lips (just use the corner of the pad) and forget-me-not for her dress...

her apron was stamped on a manila scrap with fern green archival, then cut out & layered...

the sentiment is another oldie...
it's from SCS029...


what a GREAT way to spend a Sunday...
making art!

at 7am Chicago time, Rick chose this winner from the comments on the last post...

CONGRATS to...


Blogger Craft Addicts - Tracy Evans said...

Lovely to see all the ways you have used the same products, great designs. I would love this stamp set as this is one of the sets I have not ordered just yet x x
August 22, 2014 at 1:08 PM
 Delete

you won the holiday art stamp set!
please email me your address & we'll get this postal...

I LOVE giveaways...

be watching my FACEBOOK PAGE this week...
just sayin...


have a great Monday & remember to take time to...

make art!
wendy

Friday, August 22, 2014

the MINI winner is...

happy Friday friends!

a while back, Stampington did (or does?) a feature called
"with one stamp"...

I thought it would be fun to share several different ways to use one product, all in one place...

today, I'll focus on the new "for the holidays SiSi"...
SiSi's come with a stamp (or 2) & the coordinating stencil...


I used the wreath stamp & stencil together, for a fairly flat card...

the bow is carnation red...
PERFECT for the upcoming holidays!


I skipped the stamp & used just the wreath stencil for the next one...

this time I used white embossing paste thru the basically bricks & when that dried, I used just the wreath stencil with embossing paste to add another layer of paste for a very textured effect...
yes...embossing paste can be layered over dry paste!

I used my mix & store jar to mix up a few drops of the fern green reinker into the white embossing paste & spread it over the dry bricks...

you can also see that when the green paste dried, I replaced the stencil & stamped thru it with jet black archival to add the text for another layer...


the SiSi name is "for the holidays", but I designed this to have other NON-holiday year round uses...

below you'll see I used just portions of the stencil, to create a NON-holiday card...


here's a new card...

this time I used both the stamp & the coordinating stencil...

this example uses these stamps & stencils...

yikes stripes stencil in the background...


to fill in the dots with color...


flourish stamps...here and here...


and these archival ink colors...


and on every project I use
jet black for my main image stamping...


versatile...just what I like...

1 SiSi...4 ways...
what ideas do you have for this SiSi?

looking back at my 4 samples...


ok...who won the 3 sets of mini distress inks?

CONGRATS to...

Blogger Ruby Craft said...

Lovely Thank you card. I think this Pastel Distress technique
 gives such a soft look, I'll have to give it a try. Thanks for 
sharing it and the step by step pictures.
August 16, 2014 at 2:21 PM
 Delete

RUBY CRAFT...please email me with your shipping info...

are you sad that YOU didn't win?

guess what?

you have another chance!

today I'm giving away this BRAND NEW stamp set...
it's holiday art...


just leave a comment & you'll be entered into the drawing...

you have until Monday morning 7am Chicago time to enter...

that's it for today...
gotta finish______& ______ & ______...

GOOD LUCK FRIENDS!

I hope you're inspired to...

make art!
wendy


Friday, August 15, 2014

NEW distress minis & a GIVEAWAY!


the last 3 sets of mini distress pads are HERE!

FINALLY...brushed corduroy! I waited a long time for this cute little guy...

you might want to read all the way to the end...
I have a set of ALL 3 to giveaway!


today I wanted to share another way to use distress inks...
this is a little something I figured out one day & I really like the look...

if you've taken my Ranger technique class, you know that I LOVE the snowcap white pigment pad...
for all it does, it should cost $50.00!

get it quick, before the Ranger guys figure this out...

this post will show you a few of the reasons why I LOVE it...

to create my card for today, I started with Ranger's kraft card stock, cut to 4 ¼ x 5 ¼ inches...

the photo below shows that I masked off half of  the NEW vintage lace background stamp, then inked it with the snowcap, removed the tape & stamped it at the bottom of the card...


while the snowcap ink was still wet, I sprinkled on some frosted crystal embossing powder & heated it to melt the powder...


next, I positioned my basically bricks stencil right above the lace & used the tape to protect the lace area...


I used the blending tool & tapped it on the snowcap ink pad, then stenciled over the brick stencil...completely covering the all bricks...

***one thing to note***
the snow cap white pigment pad has a foam pad, not a felt pad like the distress & archival pads...

it's important to tap the blending tool onto the pad & NOT rub it, like we do with distress & archival pads...
brisk rubbing can tear the foam pad...
tapping works just fine...

***one more thing***
when using the white pad, make sure your stamp is clean...
trust me on that one!

with the stencil removed, you can see this snowcap white ink looks great on darker card stock...

I dried the ink before proceeding...

***this is IMPORTANT***...
if the ink is still wet, you won't get the desired results...


next, I inked the mini blending tool...
it's the perfect size for the mini pads!

and I applied peeled paint over the lace, going over the entire bottom of the card...
I used a paper towel to remove the ink from the embossed lace to make it stand out more...


the next step is to ink the top portion of the card with broken china...

just remember to dry after adding ink...

you'll notice that the snow cap slows the drying process when adding distress inks on top of it...

do you see how the snow cap changes the distress to a beautiful chalky matte finish? 

and best of all...
that one magic white pad can be used with every color of distress ink to create this chalky finish...

I'm telling you...
it's worth $50.00~


now for some embellishments...

I had 2 scraps of clearly for art (CFA) that were covered with vintage dictionary text...

using jet black archival, I stamped the pansy & the leaves onto the dictionary paper side...


position the stencil over the stamped image & use festive berries to stencil the outer edge of the flower petals & the center accents...


reposition the stencil...
this open stencil allows coloring inside the petals...
I used festive berries again, but I kept it much lighter...

***one thing to note***
this stencil was designed to allow 2 different colors to be added...
to create an authentic looking pansy, use a yellow ink on the outside & a purple inside...or do just the opposite...
or any 2 colors that you'd like...

the pansy is a SiSi (stamp-it stencil-it)...meaning you get the stamp & the coordinating stencil in the same package...


because the leaves will be cut out, I just inked right over the scrap with shabby shutters...
then cut out the leaves & the pansy...


here's my pieces...
I heated them to soften the CFA, then shaped them a bit to add a little dimension...


I stamped the sentiment toward the right, above the lace, using jet black...

I test drove my cut out flower & leaves with the flourishes stamp on the card, to help me decide where to stamp the flourishes...

the flourishes got stamped with jet black...
the color is weird here..sorry...


archival inks are awesome for altering metal...

I used carnation red archival, and pressed the heart charm onto the pad to ink only the raised edge...
then sprinkled it with frosted crystal embossing powder before heating it...to melt the embossing powder...


hemostats are a very useful tool...
I grabbed the little loop & that allowed me to blast the heart with the heat tool...and NOT blast my fingers...

***remember***
heated metal is HOT! be careful...

when it cooled off, I added the "love you" insert that comes with the heart charms...


hmmm...
the brick background looked too plain...
I replaced the brick stencil & randomly stamped text using tree branch archival...

***one thing to note***
by replacing the stencil, it keeps stamping off the grout area & you'll only see stamping ON the bricks...
it's a small detail...but it DOES matter!

***another thing***
when stamping thru a stencil it's much easier to use an UN-mounted stamp...
it's much easier to press wherever you need to...


you can see that subtle text adds another layer of interest to the background...


to alter 3 long fasteners, I used festive berries distress paint...
it's great to have coordinating products in the same color palette...

just shake the bottle, press down lightly on the craft sheet & then tap the fastener onto the wet paint dabber top...
again...
that hemostat makes it simple to hold,  cover with paint, then heat the fastener to dry...
distress paints are awesome on metal...


this is not a tool that I use every day...
but when you NEED it...nothing else works...

I wanted to add the heart with a mini fastener, but the hole was too small to fit the prongs...
I used this tool to enlarge the hole...it drills right thru like magic!
sad to say...it's discontinued...I hope you snagged one!

if you don't have the tool, you can change things up & use the heart  charm with a jump ring instead...


no project is complete without some brushed corduroy around the edges...
it sort of adds a frame...
and leads the eye to the main images...


now...the last details...

I added the painted fasteners to accent the lace on the card bottom...
and then added a piece of red/cream trimmings & the little altered heart charm...

the flower & leaves were added with hot glue...
the hot glue is a good way to adhere the CFA to paper...

next, some pen stitching detail...

and here is the finished project...

added to a black card...

tada...it's pastel distress!


this photo shows how awesome the frosted crystal embossing powder is...

see the texture it adds? I LOVE it with the lace...
and I think it's the perfect compliment to the pastel distress on the card, to create a vintage feminine effect...


this technique works just fine on manila cardstock too...
try it...it's a lighter/brighter look, but still chalky matte & pastel...

but...I think it's extra special on kraft cardstock...

DID I MENTION THAT 
I HAVE A GIVEAWAY?

it's compliments of Tim & Ranger...

if you would like a chance to win ALL 3 sets of the new distress minis...

just leave a comment on this blog post...
it's that simple!

I'll draw a random winner on Tuesday, August 19th at 4PM Chicago time...

well...right now I'm in Connecticut...
getting all set up at The Papercraft Clubhouse...

I have big plans to get inky, meet some new art friends, have fun,  &

make art!
wendy