

it started like this...
a few days ago Rick spotted a brayer in my studio & asked what the "roller thing" was used for...
I gave him several uses & that was that...
or so I thought...
a few days later I woke at 4 AM with a brayer idea...
grab your large brayer...
and your craft sheet...
this is a key ingredient...

and fill a mini mister with rubbing alcohol...(for UK friends, it's surgical spirit)...
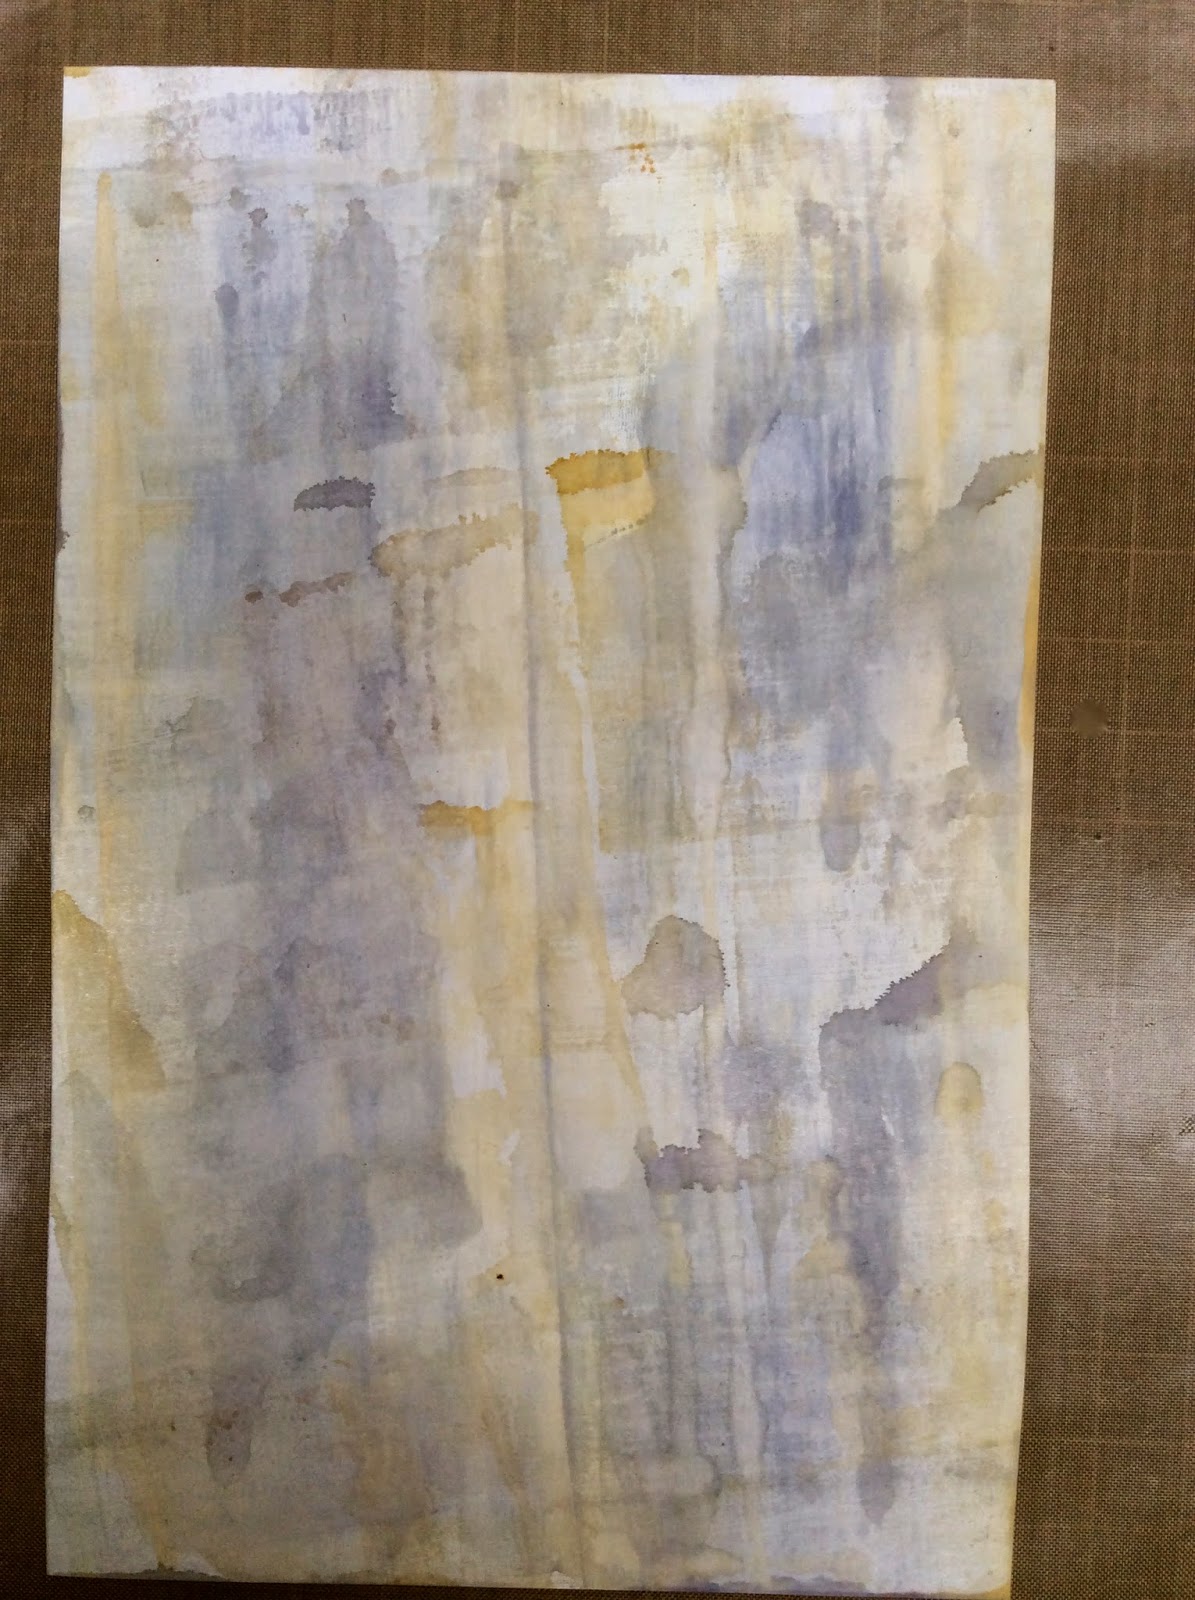
the one minute background goes like this...
I swiped the dandelion archival pad & the cornflower blue archival pad onto the craft sheet, then lightly misted the inks with the rubbing alcohol...

and picked up the inks with the brayer...
then brayered up & down over specialty stamping paper...
oh yes...IN LOVE...
very worn looking effect...
nice mixing of colors...
I turned around to plug in my heat tool, but in those few short seconds, the paper was already dry...
the one minute background...seriously simple & F A S T!

then I wondered what would happen if I brayered over an oval clearly for art die cut...
I used the same colors as above...

this is cool...
the inky fluid seeped under the oval & created a subtle frame...
I WILL be doing this again...

the next color combo I wanted to try is orange blossom & hydrangea...

instead of brayering across the full length of the ss paper, I just did short rolls with abrupt stops...
that deposited excess ink & makes the spots you see...
it's a very dimensional effect, but with only one layer of ink...I can't wait to stamp & stencil over this one...
hmmmm...what about only using one color archival ink with a drop of the gold metallic mixative?

same alcohol misted tree branch archival ink on the right...
on the left you'll see the one drop of the mixative with a bit of alcohol...

this creates a beautiful monochromatic background with amazing shimmer...
this is already cut for card fronts...
I just NEED more studio time...

my next thought was that stripes would be fun...
this is dandelion, forget-me-not & leaf green archivals...
I used the smaller brayer for this one...
this is a half sheet of specialty stamping paper...
I'm liking this too...

here's some ideas for these backgrounds...
trust me...make one & you'll NEED to make 12 more!
it's a very fun, very simple technique...
I like to make larger sheets, which I'll use for art journal pages later...
and then I can cut them up for card fronts too...
I know I'll be die cutting some to create my own custom embellishments, like cool flowers...
I like to make backgrounds on brain dead days...
those kind of days where no ideas are popping out...
sometimes the background speaks to you & guides the whole art process...
ok...here's how I used one of them...
I cut the striped one in half...
I had some custom colored white embossing paste all ready to go...
it was mixed right in the new mix & store jar & it was colored with a drop of the fern green archival reinker...

I spread the green embossing paste thru the wreathe stencil...
it dries with cool texture & it adds no weight to the card...
it won't pop off or crack...
and the embossing paste goes thru the mail with no problem at all...

below you'll see some stenciling on the left...
I used the checkmate stencil with tree branch archival...
I used watering can archival to stencil the stripes...
and cornflower blue to add the random text stamping on the far right...
I used jet black archival to stamp my sentiment & the flourish...
I had planned to add pen stitching to the edges, but instead I used the tarnished brass distress paint to edge the card front...

I stamped a portion of the thistle stamp on a scrap of specialty stamping paper...
embossed it with frosted crystal embossing powder...
then inked right over the whole shebang with leaf green archival & cut them out...

here's the leaves...
the art parts flower was created by pressing it onto the reverse dots background stamp...
the stamp was inked with forget-me-not archival...
this stamp stamps the background NOT the dots...
the dots are the kraft color of the art part showing thru...
this is a good stamp for adding lots of color...

at the last minute I changed my mind and trimmed the card to make it even smaller...
and edged it with the tarnished brass distress paint...
I inked this FAVORITE lace border stamp with tarnished brass distress paint & stamped the lace border onto the black card stock twice...
I also used the paint to edge the card...
if you look at the stamp set, the lace border is to the far left & is vertical...easy to miss seeing...I get lots of questions about where to find this stamp...
a few black glaze pen dots added to the wreathe is a great tiny detail...but it does matter...

when using specialty stamping paper, ALWAYS dry every layer of ink you add...
the magic coating really slows down the drying time of all inks...
the specialty stamping paper does not allow the inky fluid to seep thru the paper...this is great when you're making art journal pages...
when you start the back of the page, you have a nice white surface...no ugly blobs to worry about covering up...
I tried this technique on manila card stock...not too impressed...
don't bother...
when mixing color into embossing paste, start with ONE DROP, since reinkers are very concentrated...
same situation with the metallic mixatives...ONE drop is all you need...
reinkers & mixatives will last a LONG time...
there must be a million drops in those tiny bottles...
excess custom colored paste stays nice & fresh in the mix & store jars...
they're very convenient...
no clean up...and best of all...NO waste!
and now for the laugh of the day...
Rick was outside mowing the lawn & someone asked if we are selling green acres...
NO...WE ARE NOT MOVING...
NO...the place is NOT for sale...
N E V E R E V E R...
why?
here's what gave him the idea...

these are the supplies for my classes next weekend in NC at Betty's...
just waiting for Fed-Ex pickup...
the tubs & boxes are going...
NOT US!
oh wait..I AM...but I'm coming home!
well...I hope this tutorial gives you more reason to love archival inks...
they're great for stamping...
they're great stenciling...
they're great for inking & coloring NON porous surfaces...
like metal embellishments...
they're great for creating custom colored embossing pastes...
and they're great for background techniques...
get out your brayer...
give it a go & let me know how you like this technique...
I LOVE another way to...
make art!
wendy
EDIT!!!
FLASH SALE over at eclecticPaperie today...
enter the code
JULY2014
and get 20% off your whole order!
sale ends at MIDNIGHT EST today...
JULY 4th!
stamps...
stencils...
SiSi's...
inks...
reinkers too...
gridblocks...
distress markers...
embossing pastes!
I think you get the idea...
20% off EVERYTHING!
FLASH SALE over at eclecticPaperie today...
enter the code
JULY2014
and get 20% off your whole order!
sale ends at MIDNIGHT EST today...
JULY 4th!
stamps...
stencils...
SiSi's...
inks...
reinkers too...
gridblocks...
distress markers...
embossing pastes!
I think you get the idea...
20% off EVERYTHING!


