

every year I come back from CHA & think...
WOW...
THAT WAS THE BEST SHOW EVER...
BUT THIS YEAR
REALLY WAS
super WONDERFUL...
THANK YOU
FROM THE BOTTOM OF MY HEART
to everyone who attended and supported
studio 490 and my Ranger products...
your sweet comments about my new products and my samples/demos made me so happy...
I'll be back with regular blog posts (with tutorials)
and giveaways
using the new goodies next week,
but today I thought I would do a quick post
to share a few tidbits...
this was my Ranger challenge piece...
the base we used is Dina's new media board...
it's a very nice solid surface...
my whole background was sprayed with tim's distress sprays...
I used LOTS of distress sprays and
the board didn't warp...
the focus was distress & I used distress stains, sprays, paint, the ink pads &
trust me...the crayons are FABULOUS...
unlike anything I ever seen...
they have some very unique properties & I'll be sharing how I used them...
look for tim's demos on you-tube...
I'm sure there will be lots where he explains them in detail...
I wanted my challenge piece to look like a book,
sitting on a shelf...
thus, the
the new "picket fence" stencil was my focal point...
and I built around that...
I used the picket fence with
if you don't have this one...
you NEED it...
it's not new, but it's really cool because it has a dull, very textured finish...
that allowed me to use the crayons to dirty up the white fence...
I also have another fun technique using the weathered white embossing powder...

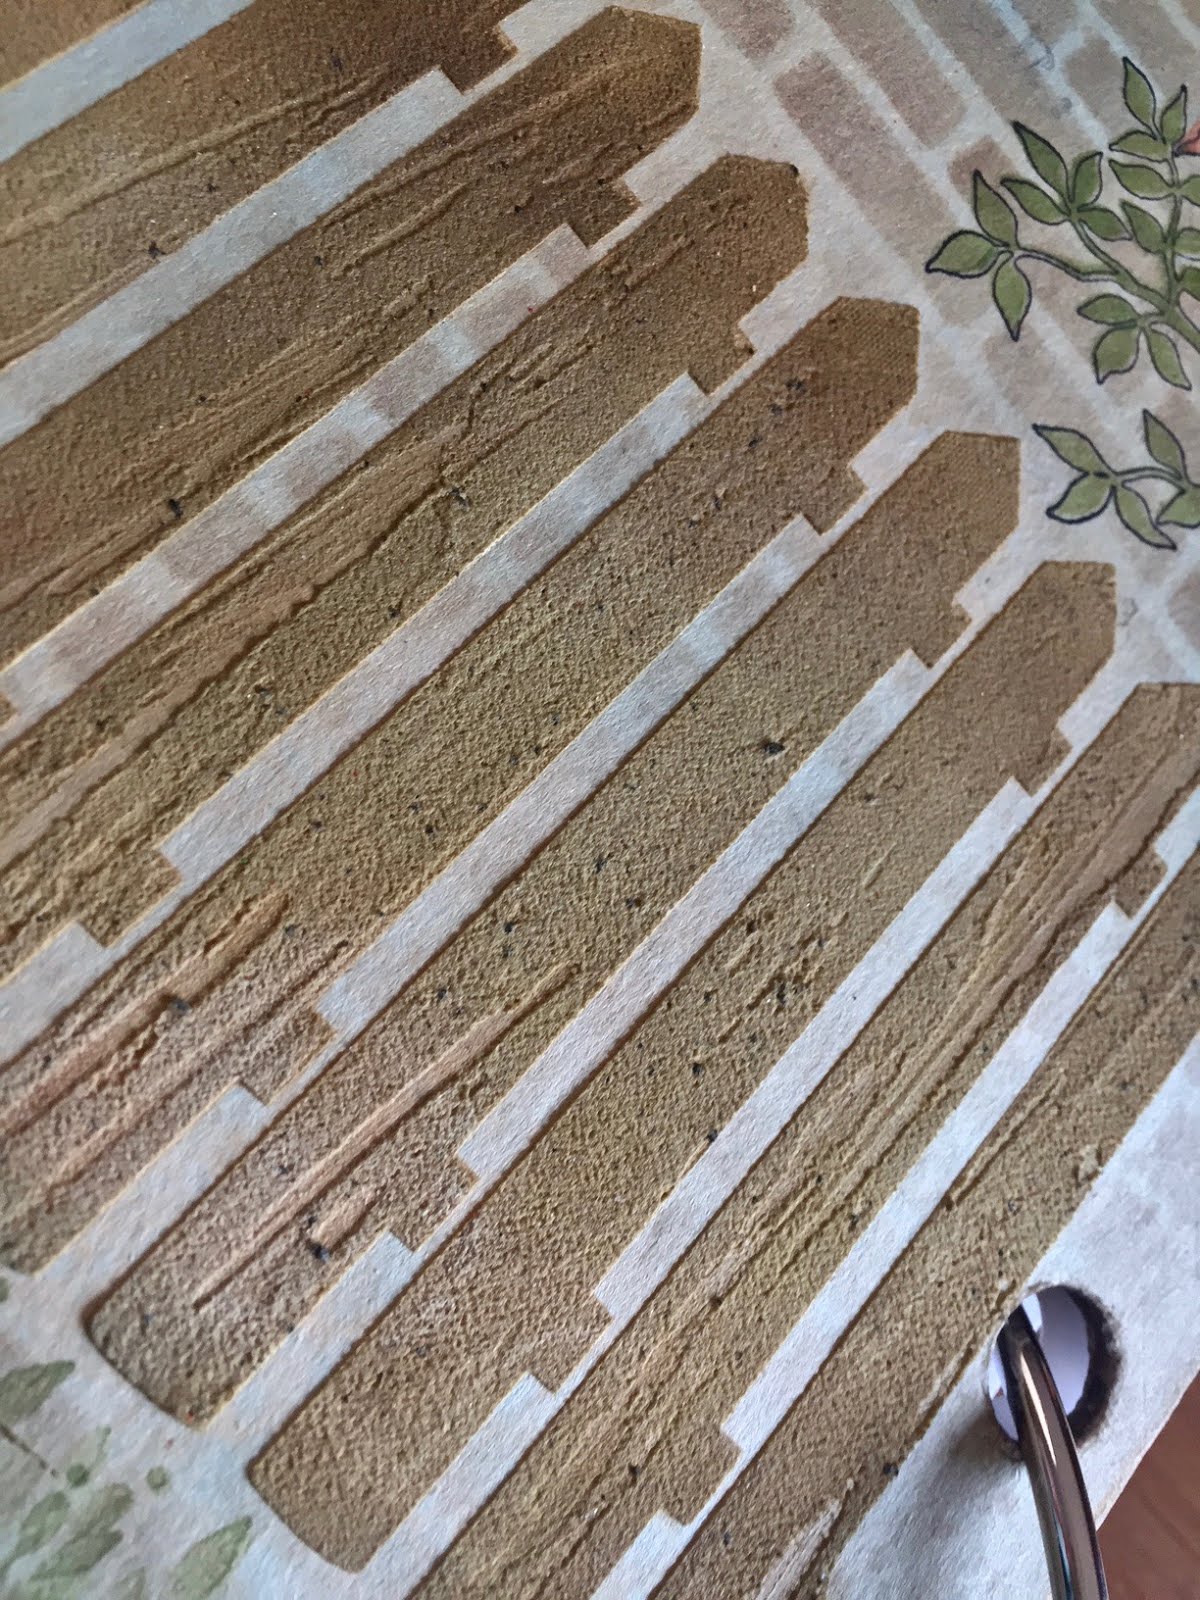
the same picket fence stencil is so fun to use with embossing paste to create texture...
for this sample, I colored my white embossing paste with a 2 drops of potting soil reinker...
when I spread the paste thru the stencil, I intentionally did not make the surface smooth...
I wanted to create a wood effect...
I like it!
I'm guessing that
the #1 top selling stencil
will be the repeating quilt...
there are several ways to use this...
every time I demoed it, people were surprised at how quick & easy a background can be created...
it's NOT hard at all...
it can be used like this...
stenciled just once,
straight,
to create a square quilt pattern...

or...
like this...
stencil once, turn it 90 degrees and stencil again with a second ink color to create those
adorable tiny plaids...
below, the quilt looks like diamonds...
there are several ways to line it up...
you can see on the sample below that there is ink in each square...
you can also use it so that the original background color remains uninked...
the nice straight lines also make it super simple to trim a zig zag border on a card or tag...
it can be used to create a banner or a border...
more on that soon...
the plaid on the large flower is
stamped once, turned 90 degrees and stamped a second time...
on the front smaller flower,
it's stamped vertically only once...

just a little pen stitching and a few glaze pen dots, make the quilt look even more authentic...
a small detail...
took 3 minutes...
but it makes a big impact!
think about "quilt" flowers...
oh yes...
stay tuned for lots more examples...
I flipping LOVE the mat mini hearts and
the birdhouses are to be used with

so that's it for today...
I'll be back next week with LOTS more...
have a great weekend &...
make art!
wendy
ps...
WAIT...
I can't say how much I LOVE these products...
the collage mediums are almost instant drying...
GREAT for those of us who are impatient...
they are totally different
than anything I've used before...
they are matte & FABULOUS...
I REALLY love them with the crayons...
I've had a little play yesterday &
I'm IN LOVE...
trust me...

I liked lots more new things...
but hubby is waiting patiently to head out on a junking date!
I shall return!
