here's how I got started...

here's how I got started...
a 20 minute podcast by Crazy BeYOUtiful
Showing posts with label tim holtz distress paints Ranger. Show all posts

Monday, August 12, 2013

catching up...

remember me? 

yikes..it's TRUE! 
time does fly when you're having fun...

so where have I been?

I taught 2 all day classes at Ink About It, in Westford, Ma. 

the first was an all day Ranger class...
and the second was an all day art journal class...

here's the sweet welcome banner Linda made...
that's Lori in the photo...


we had 2 really fun VERY ink days and I met some sweet awesome TALENTED ladies & one TALENTED gentleman...

my new archival inks got their first workout...and I kissed the labels every time I demoed them...
seriously...I DID!
they are so awesome...

THANKS to everyone for a FABULOUS weekend & to Linda & Lori for the invite...

I flew home on Sunday & spent about 14 hours at home...
just enough time to visit my hubby, sleep in my own bed, pet my critters...and pack a few art supplies...

then the next morning it was back to the airport 
to head to The Queen's Ink in Savage Md, to take 2 full days of classes from Finnabair...

it sure was a different experience being on the other side of the table...so relaxing...lol...

I had a total blast...played lots & really enjoyed the 2 days...

here's a little photo of my project...


this next photo is a journal cover, but I haven't added the holes yet...Rick said to forget the journal & put it in a frame...

still thinking on that...
look close & you'll see some art parts peeking out...


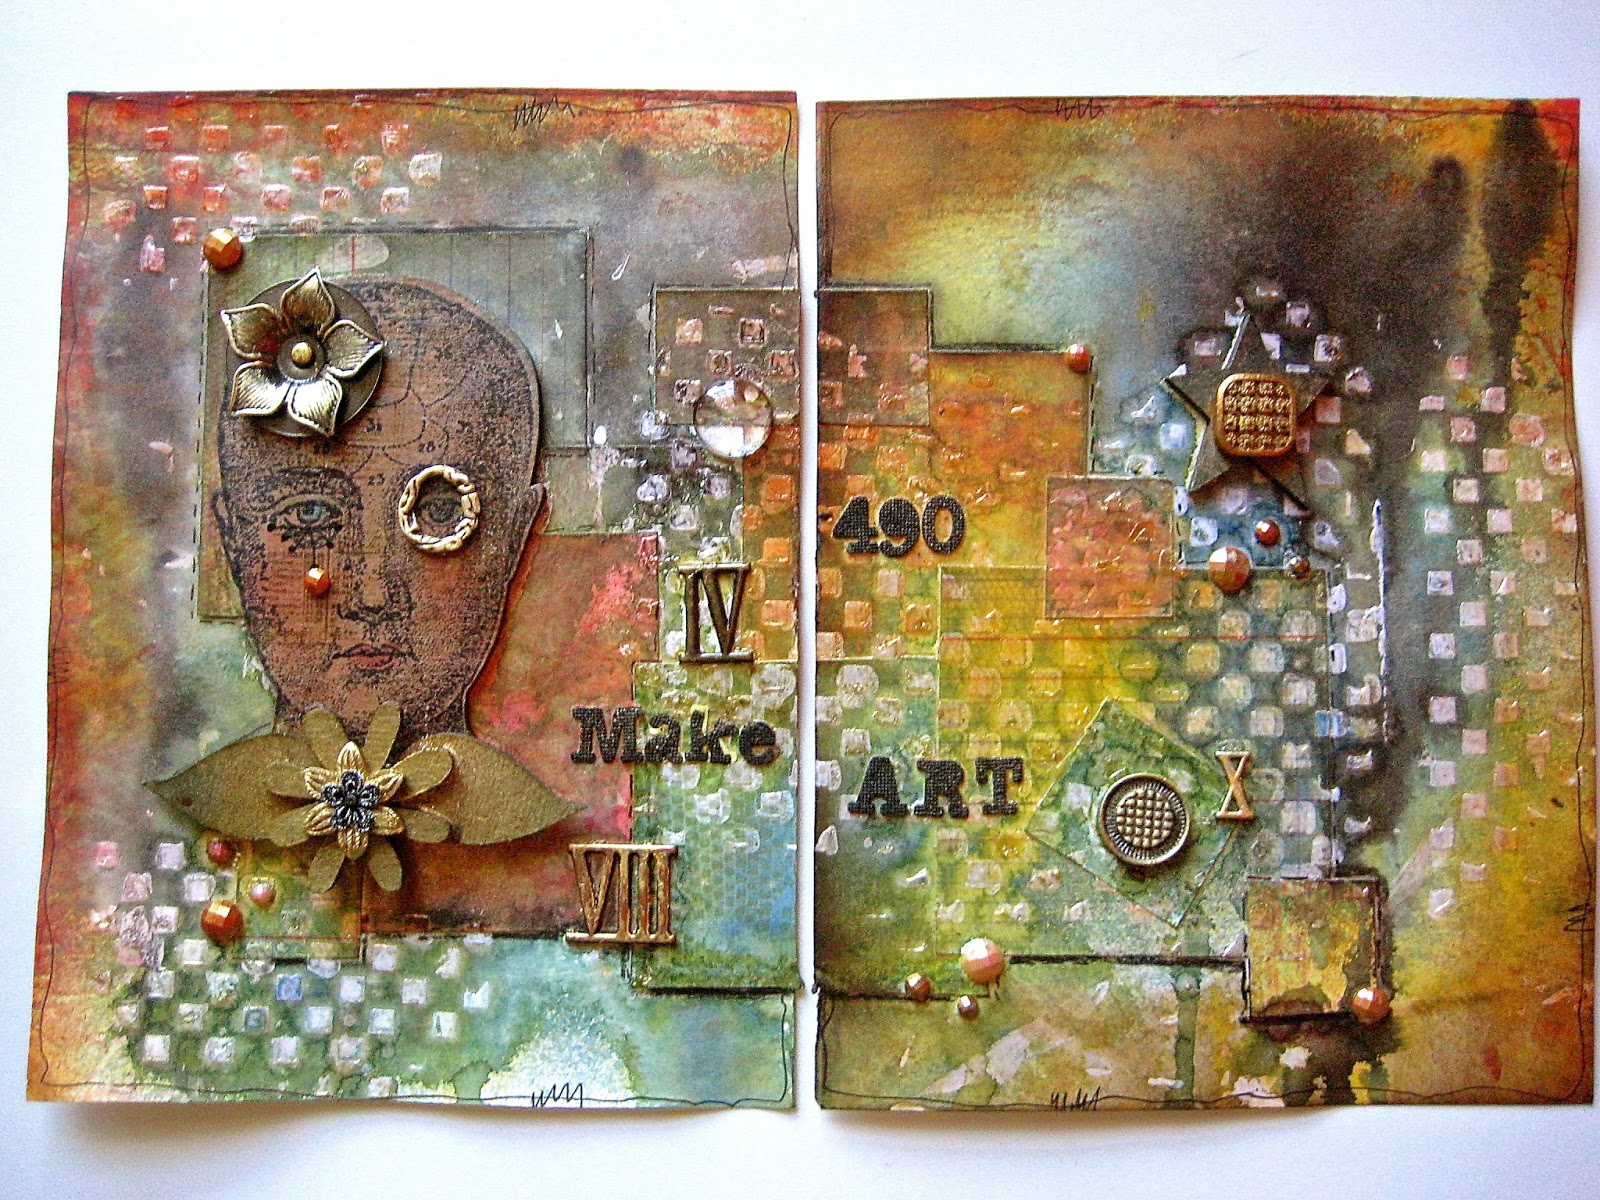
next is a 2 page spread that we made...
it's not glued into the journal yet...
still thinking on this one too...

if you ever have the opportunity to take Finn's classes...
DO IT! you won't be sorry!


next up is a fun tag I made for CHA...

it's a #8 manila tag...

the base was created with tim's distress paints...LOVE LOVE LOVE them...
I used barn door, peeled paint & broken china...

I stamped my cool new flower on specialty stamping paper 3 times with jet black archival, then used distress markers & the detail water brush to add color...the specialty stamping paper is glued to Clearly For Art...I use Glue N Seal (matte finish) ...it's awesome...

that makes the multi layered flower very strong & uncrushable...

it's so much easier to stamp with any color of ink instead of changing the bobbin color...

if you emboss it, it really looks machine sewn...

they are so easy to apply & they stick really well...
and it's super simple to customize embellishments to coordinate with your art...


the closer look below shows my new vintage mesh background stamped with watering can archival...

***yes we do have archival reinkers*** I guess I haven't talked about them, but they are available for all colors...
oops...

you can see that it is in the background & does not compete with the jet black archival stamped sentiment...

I added those little metallic dots with the gold distress stain & the detail water brush...

just shake the stain...
apply a bit to the craft sheet...
pick up the stain on the water brush, then tap the brush over the tag...
the result is cute mini metallic dots...

I also like to use the metallic stains to edge tags...
just make sure the dabber top is fairly dry...
NOT super saturated...

the gold coordinates well with 


time to get started on kits for my next store visit...

I'll be at Everything Scrapbooks & Stamps in Lake Worth, Florida...on September 7 & 8th...
teaching 2 full days of art journaling...

students will leave with a completed mixed media art journal both days...
(2 different journals...different techniques)
both...LOTS of fun...

we'll use lots of stamps...
lots of inks and we'll...

make art!
wendy


Thursday, April 4, 2013

25% off my stamps...***EDIT***

just got this scoop...

simon says is offering 

25% off my stamps for 

 A WEEK!

<<>>

***EDIT***
stop the press...
I was so excited that I didn't read the whole note...

the sale is good thru
 NEXT  Thursday the 11th @ 11:59 EST STD

PHEW...I TOLD you I LOVE a good SALE!

I'll post the code at the end of this post...

the SALE includes sets from the newest release...

just in time for spring...


this next one is back in stock...
it sold out after I posted several ways to use it last week...

I LOVE


if you're feeling a little SASSY...


and ALL my stamps 
from past releases too...

this set is a favorite with the brick wall...
it's

it coordinates PERFECTLY with 
the brick wall stencil & 
it so fun to use with my embossing pastes...

the brick stamp makes the mortar...
it too is back in stock...

***here's a tip***

if you want dimensional RED bricks...

just add a drop or 2 of the
to the white paste before you apply it thru the stencil...

you can make the white paste ANY color...
just use any of the

pretty cool that we can use what we already have...
no special colorants are needed...

you can also make custom colors 
of the embossing paste
 by using 1 drop of 2 different colors 
of the RE-INKERS...


no more chit chat...

here's the code to enter at checkout...

WENDY25

the code is good on my wood mounted stamps too...

and the SALE is good thru April 11th!

HAPPY SHOPPING!!!
thanks HEIDI!

all this stamp talk has me excited...

I'm headed running to the studio to...

make art!
wendy
ps...on the arting agenda for today...
yippee!


Tuesday, January 22, 2013

I LOVE these words...

IN STOCK & SHIPPING...
NOW!

seriously makes me HAPPY...

I'm excited and very thankful for the SUPER FAST shipping
 from the fine folks at
STAMPERS ANONYMOUS...
THANKS ALL for your hard work!

I got several emails yesterday...
letting me know that new products have arrived...

Amy from the Scrapbooking Studio (2 locations in Illinois) got her confirmation & will have ALL the new products in tomorrow!

ePaperie has them IN STOCK & ONLINE now...

I'm expecting to hear from Simon Says any moment...

I thought I'd share some random CHA photos...

here's an art journal page, using this favorite stamp & saying...
and several stencils...
including this cute new bird...
I like that stencils allow you to flip it over
 & get the mirror image orientation...

and the new hearts stencil...


here's another art journal page...
with the new polka dotty stencil background...

I love to emboss the flower stamp, 
then use the distress markers & detail water brush to color it...
the flower makes a great card too,
 for just about any occasion...


next is the cover of the new 
I didn't use the frame on the front...

LOVE the new art parts words...
great fun for mixed media & cards too...
totally LOVE how the 

you can also see how the veins in the leaves are etched right into the art part...

the new Blossom Bucket embellies 
will arrive in just 4 short weeks!
I'm counting the days!
make that MINUTES!


this is the inside of the back cover of the new art journal...

same polka dotty stencil as above,
 but this time I inked the heart stencil, 
then used a mister with water,
 to lift the distress color & create a bleached effect...

the fringe flower is cut from CFArt which I covered with a vintage dictionary page...
the new art parts pen makes a cool border...

did you spot the stamped 490 in the left corner?
that was unplanned & just a fluke...


next up...distress stains...
I demoed these at CHA...
and I *think* I hear lots of distress stain dabbers being opened & poured into misters...

try it with one...

you will LOVE the distress stains in a spray form...
I have NO DOUBT...

you can see them used here...


was our Blossom Bucket make & take 
& she was a huge hit!

it was fun for me to see that some people didn't make her exactly like my sample...
but jazzed her up with more rhinestones...
some gals put the small art parts flower in her hair...

THANKS to...
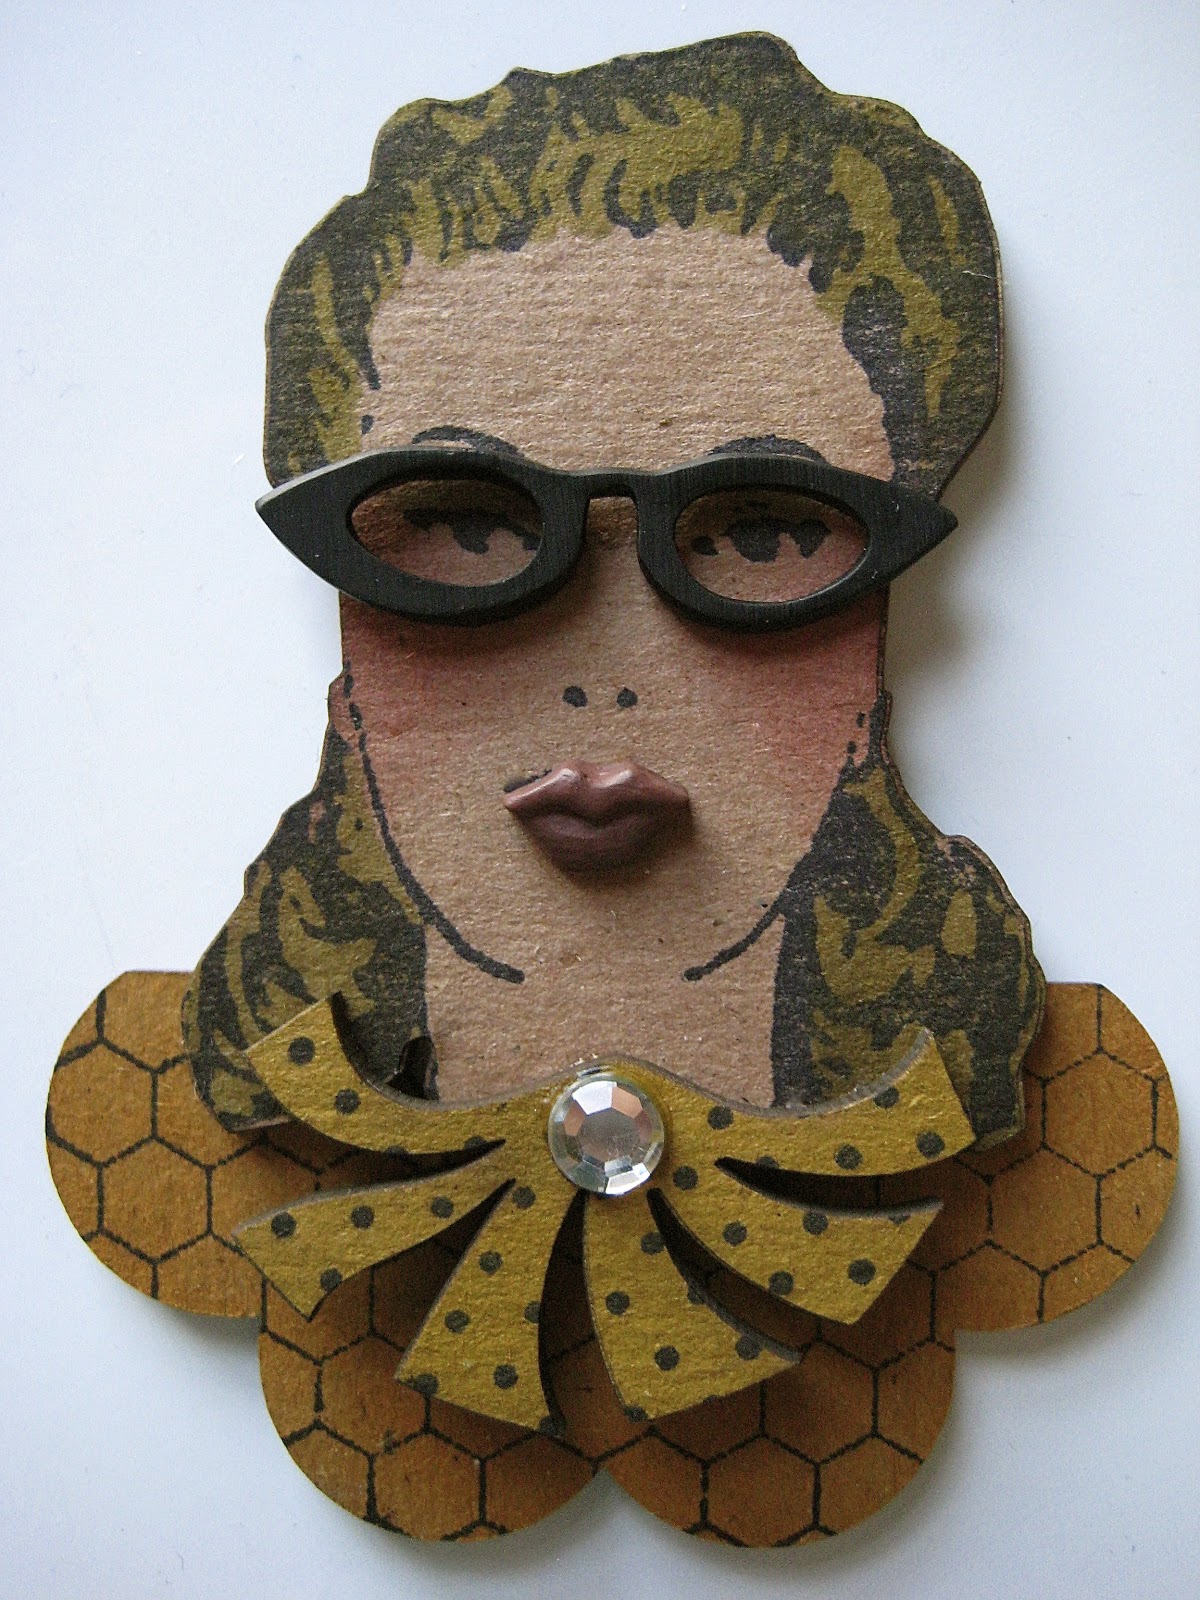
Ted & Michelle for donating the Betty art parts...
THANKS to...
Tim and Ranger for donating the distress markers, distress stains, awesome archival, Glossy Accents & multi medium needed to assemble Betty...
THANKS to...
 Cindy for supplying the cute glasses & the mini lips...


here's a fun sample using my new embossing paste...
it creates AMAZING texture...
and gives us so many options...

spread it on a background...
then stencil & stamp over it when dry...

or use the paste with a stencil...
it's so much fun...

I especially LOVE the black paste for my main focal point...
and it's great for borders too...

the leaves were done thru the new leaves stencil with white paste, then inked with peeled paint distress stain & the detail water brush...


here's the link to a CHA demo that Ranger just posted...
this shows the embossing paste used several different ways with SPRAY distress & Perfect Pearls...


May Flaum took some great photos 
and has a CHA blog post about studio 490...


THANKS MAY!

I've had several questions about tim's new distress paints, so I thought I'd share why I LOVE them...

they seriously are unlike any paint I've ever used...
the colors are BEAUTIFUL and they dry to an awesome 
matte finish...

MATTE...

perfect MATTE...

sort of like the old milk paint...

the paints react just like distress inks when wet,
 but are 100% waterproof & permanent when dry...

they are very thin...
and can be opaque if used full strength ...
or they can be made semi opaque by adding some water...

there are no fillers in the paint...
so, once dry, you do not feel them on the surface...
pure...
MAGIC...

you can stamp with them & get AMAZING detail...
that's REALLY cool too!

the dabbers will not dry out or get hard & crunchy...

you can use them over ribbon & fabric
 & unlike other paints...
the ribbon & fabric remain soft, 
NOT crunchy & stiff like with normal paint...


they work on every surface that I have tried them on...

think

art parts
Clearly for Art
metal
plastic
glass
fabric
ribbon

you can use them over embossing paste
or mix some in the paste to create custom colors...

you can finger paint with them, and you'll see that they do not stain your hands...

and your fingers can easily be cleaned with water...

DEAR tim & Ranger...
bring on the other 24!
I'll be waiting...

I'll have some fun blog post coming soon using the paints...

NOW...
back to my embossing paste giveaway...

we'll be shipping out embossing paste to...

Blogger Shannon said...
I have been wanting to get some of the paste to try and I just haven't been able to yet. I'd love a chance to try it out. Sounds like CHA was great, glad you had a good time.
January 19, 2013 at 6:35 PM
 Delete


CONGRATS Shannon...
please shoot me an email with your shipping info...

that's it for me...

back to packing up everything in this house...
boohoo...

no time today to...

make art...
wendy
ps...still more pastes to share! 
want some?