

specifically by his April tag...
when I have a long post, I invite you to grab a beverage...
but for this one...
you just might need to grab LUNCH...
YIKES...there's lots to tell...
tim used his Sizzix tattered pinecone die to create a rose...
I had played with this before, but not for quite a while...
and I wanted to...
the idea went like this...
could I use Clearly For Art (CFA) to make a rose with the tattered pinecone die?
I did & below you'll see the result...
the photo looks fairly decent, but in person, it's not very effective...
there's not much definition,...
you really don't see the petals & actually it looks like a blob of plastic...

on to plan B...
would frosted film help define the petals?
I covered a piece of Clearly For Art with tim's frosted film...
the frosted film is self adhesive, so remove the backing a bit at a time & press it onto the CFA, then use the pinecone die...
when using CFA, tim's toothpick trick didn't work...
CFA is strong stuff & the toothpick wasn't strong enough to allow me to roll the CFA...
I had much more control using the hemostat...
I'm working from the CFA side & grabbed the end of the die cut like this...

CFA needs to be heated to make it soft & pliable...
one cooled it's rock solid, but can always be reheated to allow reshaping...
I heated small areas...just 3 or 4 petals at a time...
DO NOT TOUCH the HEMOSTAT...
metal gets hot...

the photo below is showing that once heated, it will retain it's shape...

when I got to the final 4 petals & the little tab, it looked like this...
you can see that I used the hemostat thru the center of the rose while rolling it...
and heated it mostly from the bottom...

see those points in the photo below? I chopped them off because they made the flower too tall...
it looked like a pinecone...imagine that! lol...
don't chop the points off at the beginning...
that made it harder to roll...

I used hot glue on the tab and here it the flower so far...

the center opening was too large, so I used the scraps of the CFA covered with frosted film & cut this...
then cut 2 individual petals, heated them & shaped them & used them to fill the center...
I did trim off the points to make them the right height...
it's easy to test drive them before cutting...

to further shape the rose petals, I slightly heated a few petals & grabbed them with the hemostat to bend them down...

same process for this one, but I lightly rubbed the tree branch archival pad over the frosted film & dried it before I started...
frosted vintage! hello...in LOVE!

here is a side by side comparison...
CFA covered with frosted film...
same on the right, but with tree branch to add a tint of color...

now to create my tag...
in this previous post you'll see how I created custom embossing powders...
I used this combo...
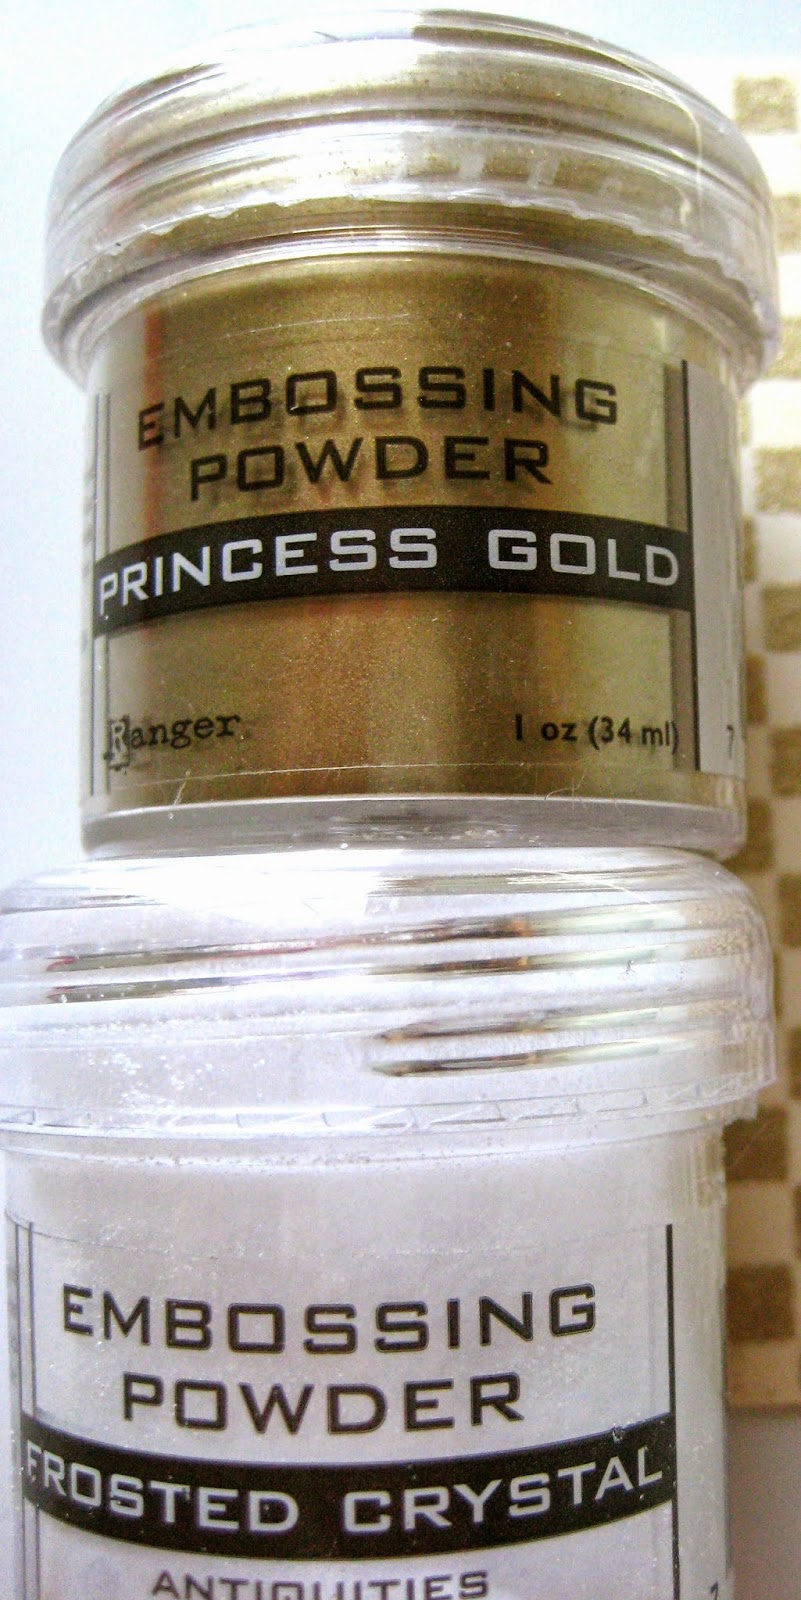
I cut a piece of manila cardstock large enough for tim's Sizzix ornate frame...
I added distress embossing ink over the manila piece, then sprinkled on the custom embossing powder, heated it to melt, then die cut this ornate frame...

to age the frame, I used tree branch archival...

and then some potting soil archival ink around the outside edge...
& gave it a quick dry with the heat tool...

then used the Stabilo pencil to trace around the cutout area & blended it with my finger to define the opening...

I used a found relative card & die cut it, using the ornate frame...
that assures the cutout is a perfect oval fit for the frame...
I know...the backs are as cool as the front...
it KILLED me to cut it!
totally...nuts! there's LOTS more in the package!

below is the #8 black tag...
I added a leftover strip of paper from the new wallflower paper stash...
on the far left, I stamped my new lace border with distress embossing ink, sprinkled it with the custom embossing powder mix & heated it to melt the powder...
the paper intersection is ugly, but I'll cover that up in a few...
see the right edge?

I used the emboss it dabber to add embossing fluid to the right edge of the tag, then touched the edge to the embossing powder & heated it...
the emboss it dabber is a convenient way to get a thin embossed edge...

previously I had used my "in full bloom" SiSi (Stamp it Stencil it) to create a card front...
I first stamped the image with jet black archival...
it's easy to place the stencil over the stamped image...
and ink the leaves with fern green archival & a bit of leaf green archival...
you can ink right over the flower since it's protected by the stencil...
see that mini blending tool?
it's ADORABLE & perfect for stenciling!

then reposition the flower portion of the stencil...
you'll see the leaves are masked off...
and use orange blossom archival to ink the flower...
this was done & sitting on my desk...unused for another project, so I cut it out...

I had a leftover CFA orange blossom rose...
an it was a perfect fit over the SiSi...

the parts are all done, so now they get glued in place...
I used several different packages of remnant rubs for adding the words to the paper strip & the frame & also to give the kids numbers & a little star...
oops...somewhere along the way, I used the add a stencil with super fine detail embossing powder on the right side of the tag...

the new alpha parts "framed" had a perfect word to tie it all together...

here's a better look at the CFA, that was covered with vintage dictionary text, which created the orange rose...

Ok...here's the scoop...
using CFA isn't as easy as using cardstock...but it is SO WORTH the time & effort...
I'd say it took me 10 minutes...and that the second flower was much easier...
the CFA roses are super strong...
you will find that the hemostat is a HUGE help...
and that frosted film over the CFA saved the day, allowing the petals to show up much better...
can't you see a bowl of CFA pinecones sitting in a bowl?
because they're so sturdy, they would be simple to pack away & bring out each fall...with no fear of them being squished...
so...I didn't follow along exactly with tim's tag, but it sure did inspire me...
I had intended to use the frosted film rose, but it didn't stand out enough for this piece...
but I think it will be perfect with this paper...
I have a plan!
they're in the studio all ready & waiting for me to...
make art!
wendy


