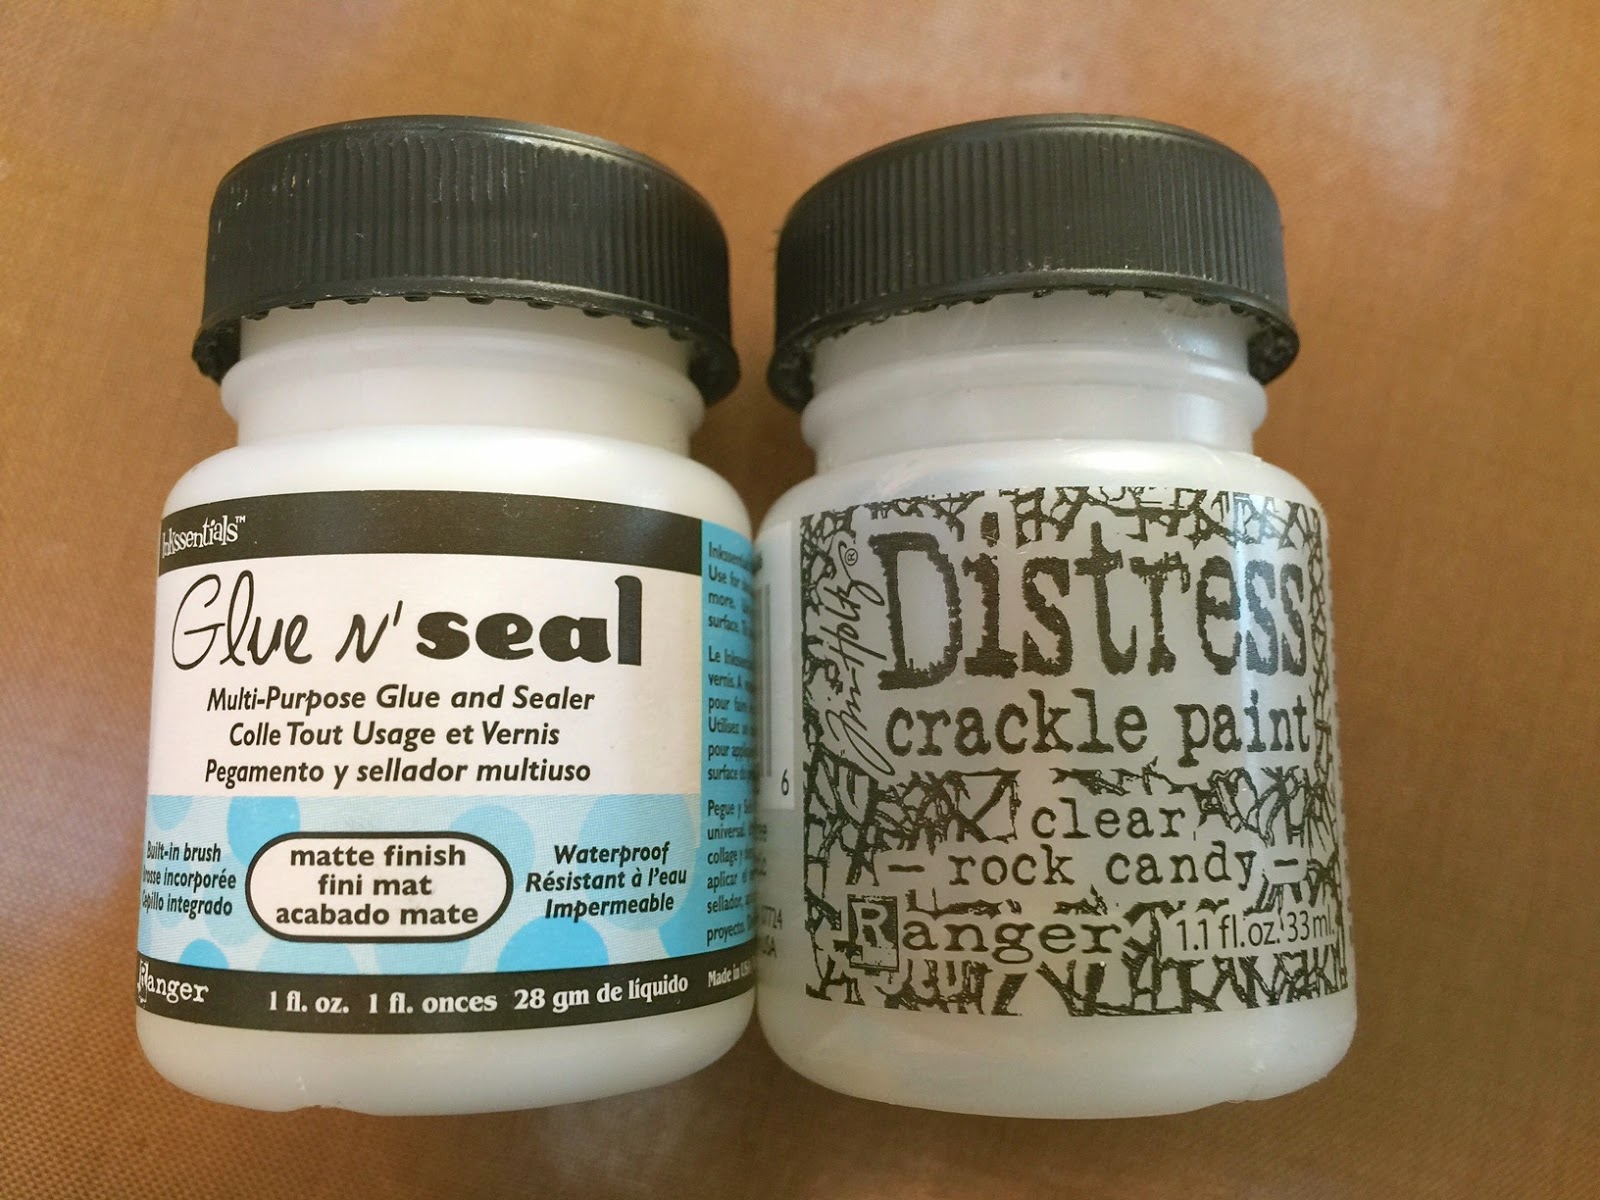
way back in 2011 I found a way to use distress rock candy crackle paint on glass...
this technique must be surfacing again,
because I had 2 questions about it just last week...
so...
here's the updated version and another reason
why
first the basic info...
NOT slippery surfaces...
it needs tooth to stay put...
if you read the original post,
I REALLY wanted to be able to use it on glass...
since glass is NOT porous, it will NOT stay permanently adhered to the glass...
believe me...I tried...
but I found a way...
it goes like this...
choose any glass vase or jar...
it can be new or a recycled jar...
doesn't matter...
the best bang for your $$$ is to get the small jar...
it's super convenient, because it has a built in brush...
this is what I do for classes...
you can also use the large jar with a foam brush if you're working on a really large project...
oopsie...
I just checked...
looks like the small jar is discontinued...
so if you have it,
KEEP IT...
just use the large jar to refill it...
paint a thin layer of Glue N Seal onto the glass...
no other prep is necessary...
it will dry & look just like this...
next, paint on a medium heavy coat of
set it aside to air dry...
drying time will depend
on your humidity & the thickness of the layer of rock candy paint you apply...
I would say mine dried in an hour...
I put it in a sunny window to help speed it up...
make sure to let it air dry...
do not use the heat tool...
when it is dry it looks like this...
you'll see
MAGIC awesome crackles
that are firmly attached to the glass...
without the Glue N Seal base coat,
the paint falls right off...
one other thing...
when I did the original post, I got several emails saying the technique didn't work...
after investigating,
I discovered that they tried to use Multi-Medium as the base coat...
and it did not work...
and works every time...
look how cute...
in the original post, I added distress stain to add color...
since our kitchen is red, blue, green & off white, I wanted a simple blue vase...
I tapped the blending tool over the vase & gave it a quick dry...
now it's permanently blue & adorable...
since this is a vase I will use for fresh flowers, I wanted to add an embellishment that would not be damaged if it got wet...
to pull in the red, I decided to use
sprinkled it with
& heated it to melt the powder...
I like to use a hemostat to protect my fingers from the heat...
and hung it on the vase...
a project like this is awesome because...
1. it's inexpensive
3. it's 100% waterproof,
so it can actually be used for fresh flowers...
4. it makes a great hostess gift,
or a little gift for any occasion...
5. it's another way to use products you already own...
6. it's quick & E A S Y & so FUN...
7. it's a great way to upcycle...
look around & I bet you'll find something you can rescue from the trash...
8. I think these would be adorable, done in several pastel colors & used at each place setting for your Easter feast...
so, in addition to adhering your paper to surfaces with NO BUBBLES...
this is reason #112
it's a great supply to have when you...
make art!
wendy