
here's how I got started...

here's how I got started...
a 20 minute podcast by Crazy BeYOUtiful
Showing posts with label Ranger Inkssentials Manila Cardstock. Show all posts

Wednesday, August 21, 2013

on the edge...part 1...


I totally LOVE getting new products to play work with...

BUT...I also find it a fun challenge to put a twist on something I've had for a while...

you've heard it here before...
if it works more than one way...I'm excited...

so I was wanting a doily for an art journal page...
but... 
I wanted one that would stand up well to inks...

I checked out the paper doilies in the baking/candy section...
nope...too flimsy for my need...
don't bother...save your $$$...

so I got to thinking, then the little lightbulb in my head turned on  & the idea worked...
duh...you probably knew that...if it didn't work there would be no post...genius!

I'll make my own doily...with this die...

it's tim's on the edge sizzix alterations distressed doily die...
I've had it since it came out a bit ago & I've used it many times as an edge, just as he intended it...
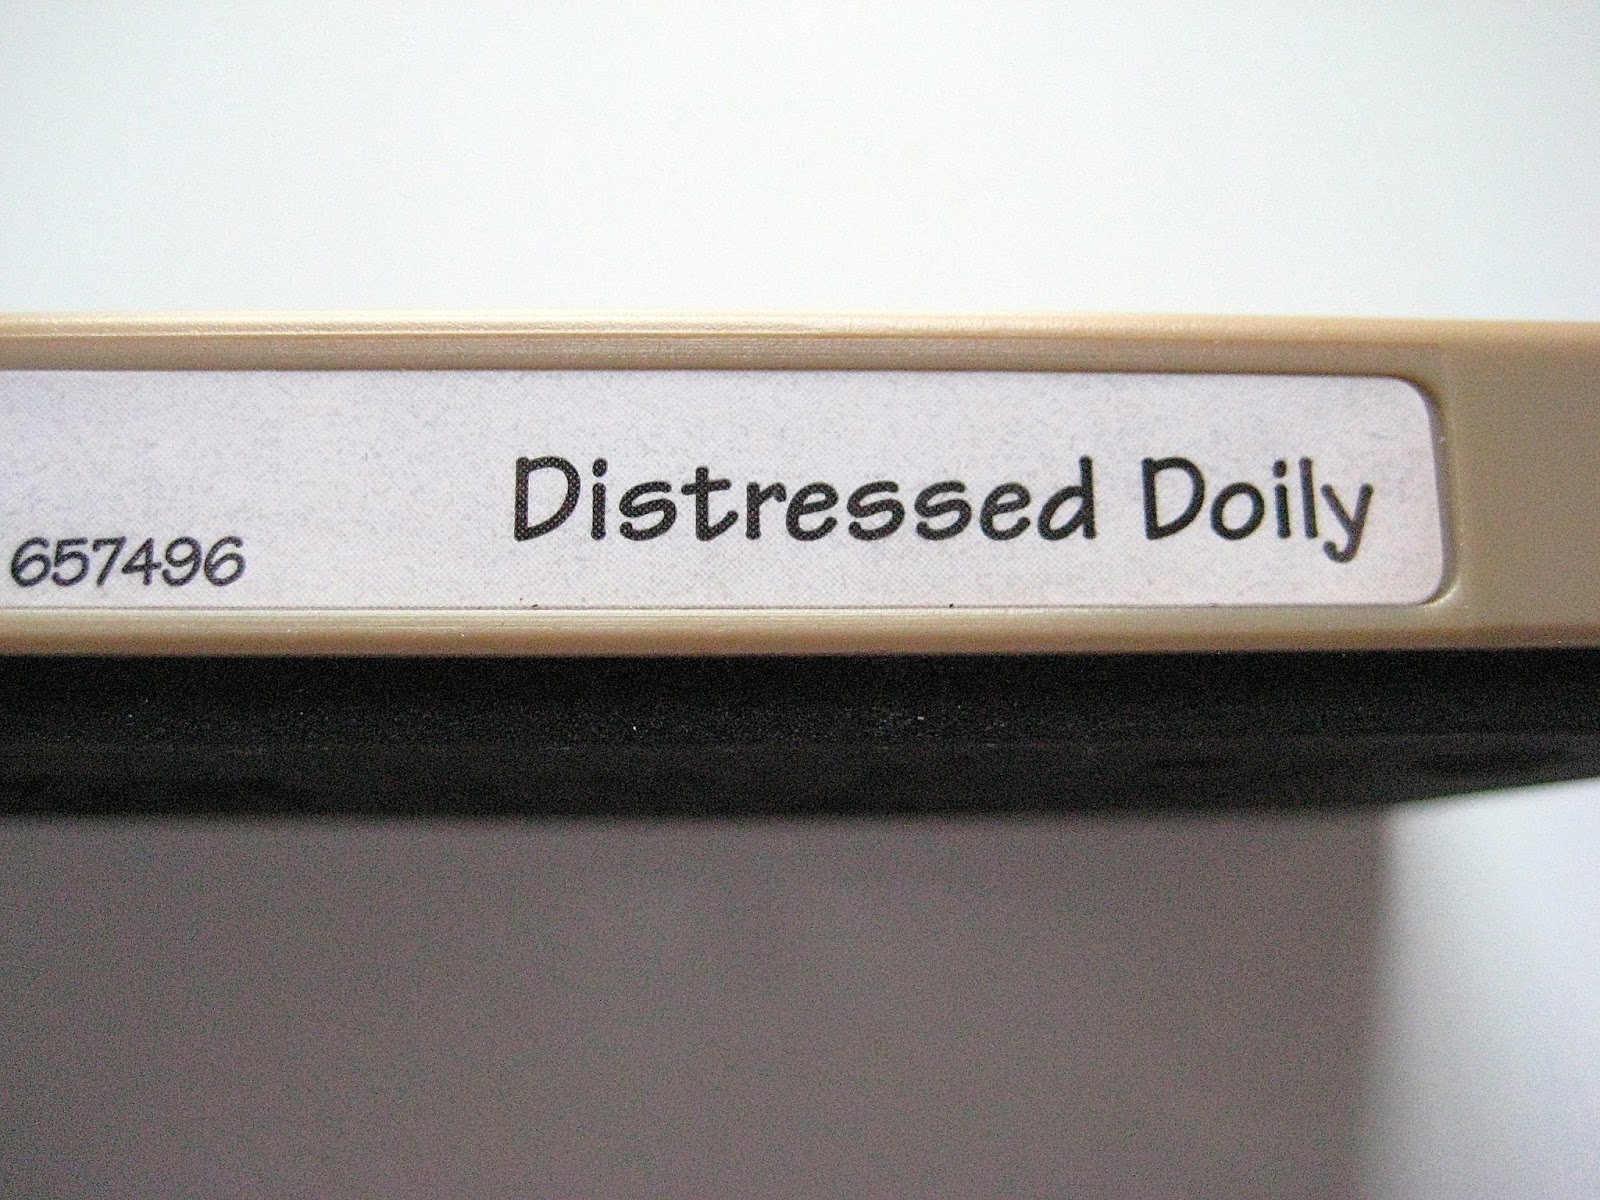

                            
to change things up here's what I did...

I cut my paper to 5 1/2 inches square...
this example is cut from specialty stamping paper, because it's strong & I know I can easily ink it/stamp it & it won't fall apart...

here's the first cut...

before you toss the cut outs in the trash...grab those 2 cuties you see in the bottom right corner of the photo...
they look like funky flowers to me...

with just one cut with the die, it makes a beautiful card base...


next, I positioned the paper on the die like this...
this photo is looking down on the die...
you can see the die edges peeking out on the sides...
make sure it's straight on the die...for both cuts...


here's what it looks like after the second cut...

I snipped those end pieces to remove the doily...
then removed the cut outs...


and this is the result...

a REALLY cool full oval doily...
SUCCESS!


it can also be used vertically & it's the PERFECT fit for a #8 tag...


here's another cool thing...

we can use anything to cut the doily...
any color for whatever coordinates with the project plan...

I was thinking a kraft doily would look good...

yep...it does!

for this one I used 2 layers of kraft card stock, since I'll probably have it hanging off the tag...


and then another thought popped in...
I LOVE when that happens...

hmmm...what if I wanted a doily frame?

so I cut another full doily & then snipped off the center in the spots where it was connected to the frame...

just a few snips and I got this...


now there's plenty more thoughts floating around...

a BLACK doily? 
you bet! I'll be doing that for sure!

a doily cut from manila card stock?
yes...I have one waiting...
it's nice & sturdy...exactly what I originally wanted...

a doily cut from clearly for art to use as a stencil?
oh yes! I'll be spraying distress stains thru one, just as soon as I get a little play time...

or cover clearly for art with vintage dictionary pages (use Glue N Seal) & die cut sturdy printed doilies...they will not break or crease if they hang off the edge...

note to self...try that!

or die cut the clearly for art blackout & have a really strong BLACK doily...perfect for hanging off the edge of a canvas or art parts base...

how about doilies cut from patterned card stock? these will be cool using tim's paper stash & it will totally change the look of both the doily & the paper stash
I might have to try that right now...I'm getting excited...

and another thought...
it's a good way to use up those left over cardstock pieces...

so...what did I do with my doilies?

NOTHING...YET! 

but...pop back on Friday for on the edge part 2...

HOPEFULLY by then I'll have a little time to play with them 
and...

make art!
wendy

ps...what are YOU thinking? got any ideas brewing? do share!


Friday, September 28, 2012

it ends with a GIVEAWAY!

phew...I've been busy...
but haven't created anything new for the blog...
YIKES!

however...
I do have some fun posts coming up for Ranger...
with some fun projects & techniques...
so...stay tuned...

here's a photo I found...
don't think I've shared this before...
this is the inside back cover of an art journal...
it's created with 2 large art parts pages...

and here's the pull out tag...
the saying is clear embossed, 
making it so easy to use the distress markers...

love the saying...and the flourishes too...


and for something random...

ever wonder what 2000 Ranger manila tags look like?
here's the first 1000...
getting assembled for the Ranger classes @ The Queen's Ink...

I plan this assembly to take over the counter, 
so there's NO WAY I could possibly make dinner...
that's double dipping
or killing 2 birds with one stone 
and it works EVERY time!
sorry Rick!


and like the title says...
it ends with a GIVEAWAY...

this shows the prize for one lucky commenter...
it's a big stash of 
my favorite Blossom Bucket pieces...


it's my THANKS to YOU...
for being 
THE BEST BLOG FRIENDS...
EVER!

I'll be back on Monday with the winner...

WAIT...
don't forget the secret code

WVST20

use it over at Simon Says...
it's good until the 30th @ 11:59pm EST...

it gets you 20% off my stamps...
just saying...
if you NEED any...

and if you spot a detail water brush...
you WILL want one...

I have a super fun post coming up that uses the detail water brush in a unique way...
and it's CRAZY SIMPLE...

so if you want to be prepared...
ps...I LOVE the broad tip brush too...

time to go...

just leave your comment & 
you'll have a chance at the 
Blossom Bucket goodie package!

have a wonderful weekend!

as always...
make art!
wendy

Wednesday, February 15, 2012

with these stains...

happy Feb 15...
one day closer to SPRING...
we're so ready here!

I had several questions about the background I showed in the last post, so I thought I'd show you how it's done...

this was inspired by watching Lady Dy @ CHA last summer...

you may remember that she was looking for a "kitchen roll"...
which actually is a roll of paper towels...

which lead to me asking her if toilet paper was then called a BUTT ROLL...

which she now calls a shimmy butt roll...lol!

Dy makes her backgrounds using her new Dylusions spray inks...
they are beautiful bright & bold colors...
just like her...

I LOVE Dy & we tease & insult each other
thru the entire CHA...
it's a blast!

since I don't have the spray inks YET...
I used my favorite tim distress stains instead...

this gave me a more toned down muted background...
which fits my style...

Dy works in a journal...

I LOVE Ranger's Inkssentials manila cardstock...
it's the same great durable material as the tags...

this allows me to make backgrounds for cards...
ATC's, pages for my creative covers or
or whatever I need @ the time...

I get the 12 x 12 size...and cut it into quarters...

which gives me 4 pieces that are 6 x 6...
it's a nice size to work with...

the same manila card stock is also available
if you like that size better...

here are the stain colors I used this time...


rusty hinge & you'll want plenty of water...
this mister is perfection...

and the other key ingredient is your heat tool...

and for sure...work on the craft sheet...


***WARNING...***
it's UGLY before it gets cute...

#1...mist one manila square with plenty of water,
then tap the stains right over the water to release a good amount of stain...
I started with mustard seed & chipped sapphire...

tapping them kind of hard
opens the valve to allow more stain to be released...

Dy says to make "poodles" of water on your surface...
the interpretation is puddles...LOL...

like I said...not lookin' real good now...

use a second square & press it over the first to transfer the excess ink to the second square...


it will now look like this...
dry both pieces...

#2...I wanted more blue...
so I added another big blast of water & then I tapped the chipped sapphire stain right in the water...
and it looks like this...

tap the second square over this to pick up the excess ink onto the second square...


dry them both & it looks like this now...


#3... another big blast of water...
you can see the "poodles"...

then I tapped the rusty hinge stain randomly...

pick up the excess on the second square again...


dry both and here's the final result...

a very cool starting point for your art...
customize it with your favorite background stamp...
it's very fun...


I did another variation...aka PLAN B...
but accidentally deleted those photos...duh...

for the last step I used water & a squirt of
this adds a beautiful bit of bling...

the binder is built right in to the solution of the PP mist...
so they will not rub off...

and for PLAN C...
you could also sprinkle in a bit of Perfect Pearls powder into the "poodles" too...

it takes very few supplies & very little time to create these backgrounds...
I hope you're inspired to give it a try...

I like to make a few & have them ready...
sometimes it's the jump start for an idea...

moving on...

book #6 *should* be here soon...
I'll let you know when I have them...


but in the meantime...
this copy will be shipped to...

Blogger Marjie Kemper said...

Congrats to all the winners! I love the new pieces, especially the fella with all his funky gears and metal. And yes... there's just the right amount of room on my bookshelf for Book #6! Thanks for asking!

February 13, 2012 1:30 PM

MARJIE...email me with your address please...
wbv1213@me.com

and...

it's another of Alain's extreme stickling "techniques"...
it's bloody hilarious!

thanks to everyone for your comments & emails...
I sincerely appreciate them...

come back on Friday...
I see that I still have some
brand new rubber to share...

until then...

get out your distress stains &...

make art!
wendy
ps...I've started to add my teaching schedule to the right sidebar...