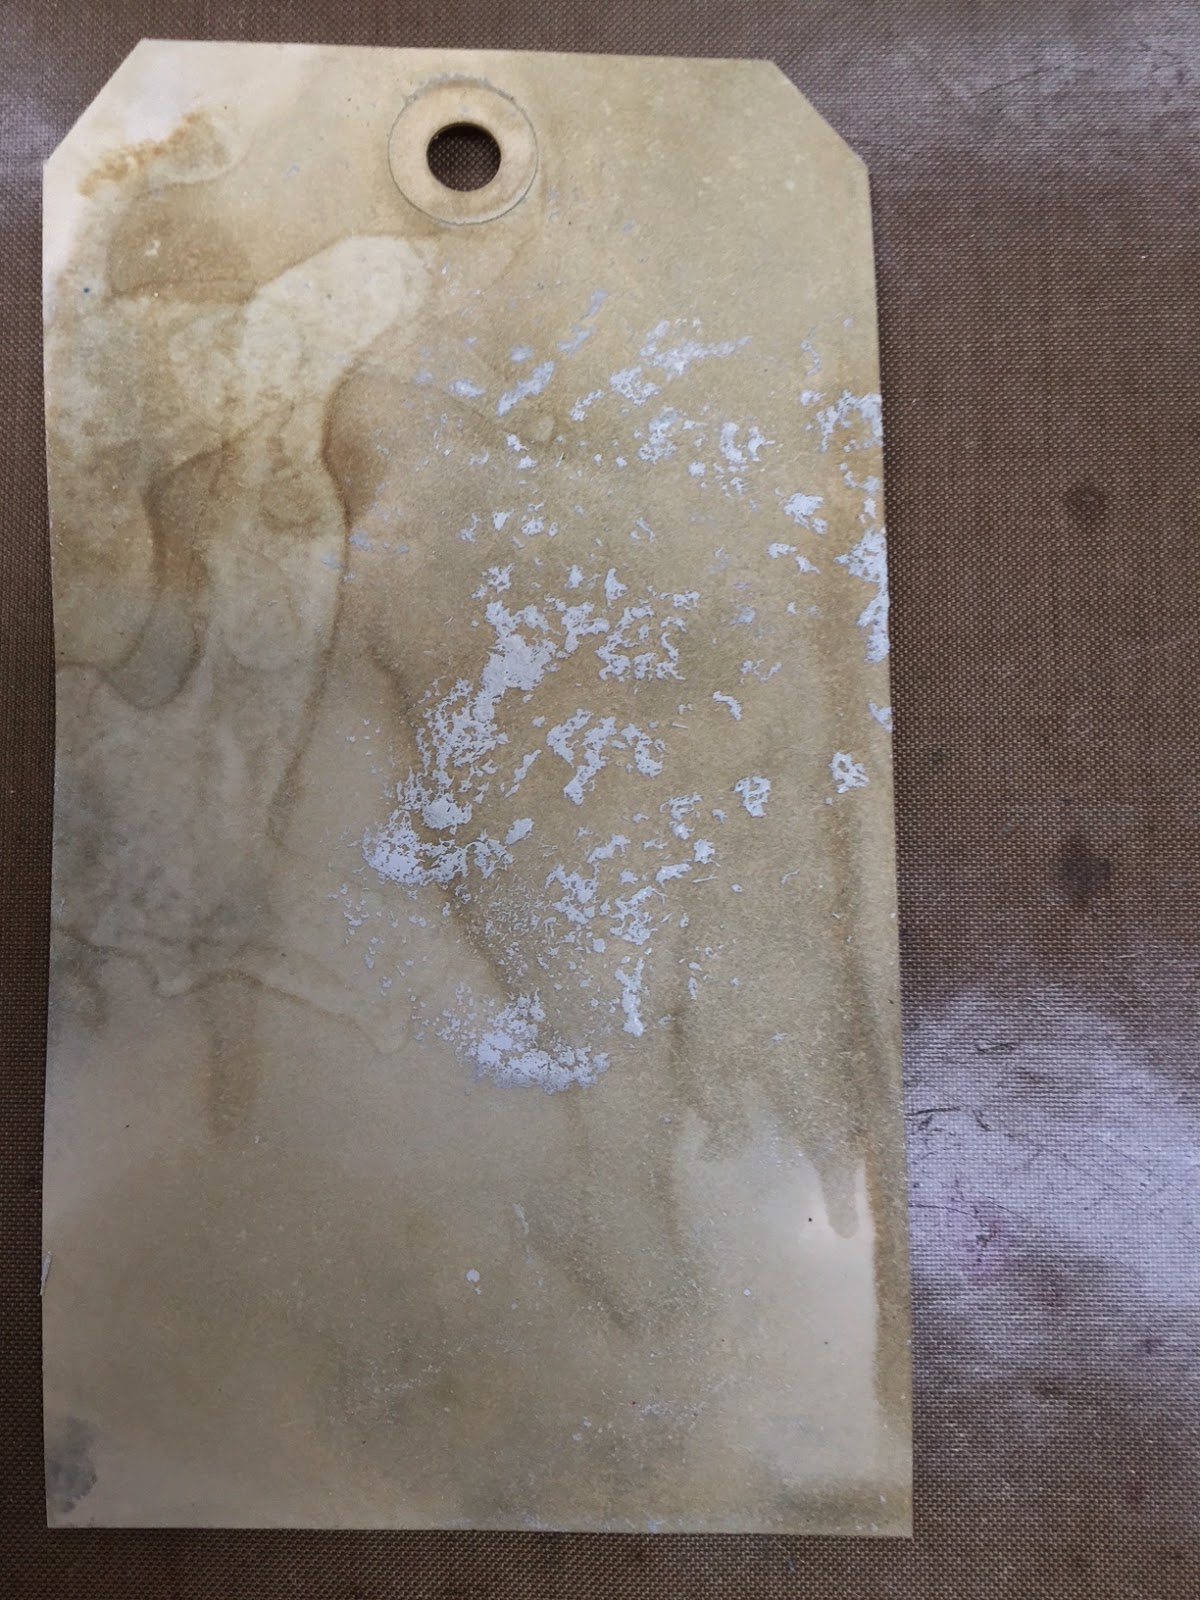
here's how I got started...

here's how I got started...
a 20 minute podcast by Crazy BeYOUtiful
Showing posts with label tim holtz distress spray stains. Show all posts

Thursday, February 18, 2016

watercoloring with distress stains...


it's no secret that I love rubber stamps...

I love them because they don't need to look the same each time you use them...

if you change up the technique, 
the surface or
 the inks,
 you have endless possibilities...

so, with that thought in mind, 
I thought I'd do a series of posts
 showing several ways to use one stamp...

I chose the stamp on the top left from the new set called "unlimited art"...
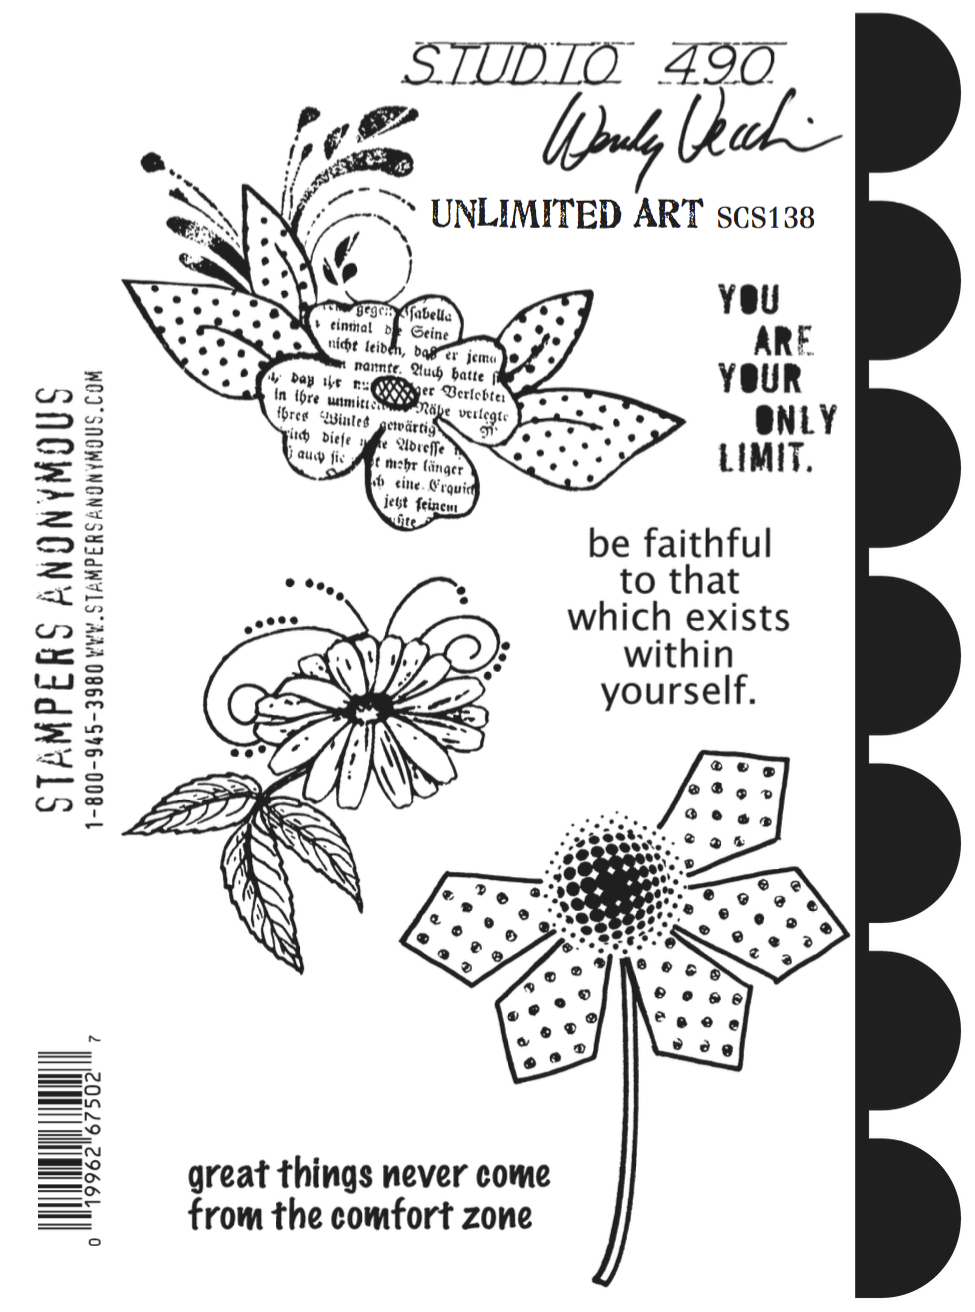

I have a 4 ¼ square watercolor cardstock with round corners to work on...

 I inked the stamp with
stamped it in the lower left corner, then heat embossed it with Ranger white embossing powder...


for the first way to use this stamp,
 I'll show you how I used distress stains to watercolor the image & the background...

disclaimer...
I'm NO EXPERT...
so don't expect perfection...
I just had a fun play & I thought I'd share...

I pulled out my usual colors...
then challenged myself to put one away & choose a different one...


I had 3 sizes of brushes ready & a little container for water...


you can use either the distress stains or the distress  spray stains, since the ink is the same in both...

I especially like the sprays, because I can unscrew the lid & touch the spray tube to the craft sheet to add just a tiny drop or 2 of ink...
it takes very little & I felt like I wasted almost no stain with this method...

I also like the spray feature of the bottles for quick background techniques...

you could also dispense a little bit of the stain from the dabber top...

this is peeled paint & it's way too much!


I wet the first leaf with plenty of water...
the embossing powder acts like a dam to contain it...


then I touched the moist brush into the stain & added it to the leaf...

if you have too much fluid, dip the dry brush into the stain to remove some...


2 done...& getting ready for #3 & 4...


4 leaves done...

now the flower...
that one drop of ripe persimmon 
colors the whole flower...


I wet the flower, dropped in the ripe persimmon & the flower has this gorgeous color...

that top left leaf looks sloppy...
no worries...
that goes away when I added the background...


I chose 2 colors that I knew would blend & not look yucky in the background...


working under the flower, I added plain water...
(the water controls where the stain goes...)


then dropped in the fossilized amber right under the flower & let the water move the stain...


I let it partially dry, then I blasted it with the heat tool because I have no patience to wait...
and so far...
it looks like this...


now the top section gets water added, then the broken china gets dropped in, at the top of the flower...
I tilted the card to make the color flow quicker...

I added a little diluted broken china 
to the bottom corners too...
and dried the whole card...

I wanted white space & stopped myself (this time) before I inked the whole bloody thing!

I *wish* I wouldn't have added color to the corners...
I *think* I would have liked it better with some white on the bottom...
oh well...
lesson learned!


here's an oops...
you can see that I got a drop of water on the tip of the leaf...
but it can be fixed by adding more peeled paint...


now to lighten some distress in the background...
the "lots of dots" stencil goes over the card...
I moistened the clean blending tool with water...
keep it just moist...not super wet...

for all 4 new stencils...


I rubbed it over the stencil to bleach out some of the distress...
this adds a layer to the background & more interest...
I also used the dots & stripes stencil to add
 sky blue archival dots to the right side, 
sticking with the DOTS theme...


moving on to the bottom...

this new sunflower ink is GORGEOUS...

I stenciled it thru 
avoiding the flower & leaves...


so far...


next, I inked the birdhouse stamp with jet black & pressed the coordinating mat mini birdhouse onto the inked stamp...
this makes it easy to line it up exactly...

now the birdhouse looks like this...


I added watering can to the roof & some 
red geranium to the walls, 
making the right side darker...


I used a post it to mask off the roof...
then used the new ticking background to add more detail to the house...


to accent the flower center, I added 

a little pen stitching & a line drawn for the birdhouse...
that's about it...

oh...
I accented 3 of the large sky blue dots with the top I removed from a mini multi medium...
it makes a great stamp!
I tapped it onto the Glacier White pad several times...


here's the finished card after it was added to a black card base...

the tiny details on the birdhouse are so fun & I like that they can be customized, with stamps or remnant rubs...


that's the first way to use this stamp & many other stamps can be used the same way...

this sample has nice bright, bold colors...
kind of scary for me...
no brown...

but I had fun & learned 
that I *should* stop & leave more white...


 here's a reminder 
 to use just portions of a stamp...

for this one, I cut out & used only the flower...

this one is on a kraft cardstock base...
that really makes the black stenciled leaves & sentiment stand out...

keep in mind that the archival inks are translucent, so the base color affects the final outcome...

the flower was painted over with 
it adds a beautiful shimmer...
painting it on gives you complete control of where you want the shimmer...


the next 2 posts (using this same stamp),
 will focus on using archival inks & 
archival sprays...
(archival reinkers mixed with alcohol in a mister)...
I just made 2 more colors yesterday...
I seriously LOVE these...
today, I'm making red geranium...

 I'll also be showing how to use this same stamp with weathered white embossing powder and archival inks on a black surface, for a rather dramatic effect...

I hope you'll try this...

it's fun to use your supplies another way...

time to go so I can...

make art!
wendy


Friday, February 13, 2015

stencil storage , GIVEAWAY & shipping update...

today I'm sharing the back cover of
  I use this binder to store my stencils & 
keep them organized...

below you'll see Megan again,
 combined with some new things & some from past releases...

one reason I was so happy to 
FINALLY get
was the option to use them 
on larger art parts...

art parts, like this set 
that holds the smaller stamp sets &

you can color all 4 sides of the binders 
in under 5 minutes...

art parts can certainly be inked with distress ink & the blending tool...

or...

use the sprays to make it
 super quick & E A S Y...

for my covers, I 
misted them with the stains & I was done in 3.5 SECONDS...
seriously...

just dry the stain, then add shading to the edges with the blending tool...

& broken china spray stain as my base colors

are extra awesome on larger art parts...
in addition to being quick, they give beautiful smooth coverage & several colors can be sprayed to blend before drying...
they might look blotchy when sprayed onto art parts, because they are wetting the paper surface, but as they dry...
PERFECTION!

you'll see the new "borders" stencil 
used 2 ways...
at the top of the cover, I inked thru the stencil just once, using sky blue archival ink...

same stencil at the bottom, but with leaf green, red geranium & sky blue...

I started at the bottom & used sky blue, then repositioned the stencil to mask off the blue inked areas & then added red geranium...
then moved the stencil up to cover the red geranium & added the leaf green...

I stopped at 3 rows, but you could easily continue the pattern to make a large multi colored background or fill the whole front of a card...

in any colors you choose!

or...
you can stamp thru the stencil to add text or polka dots on just one row...

or...

you can add embossing paste to just one row for a cool textured border...

these days I'm addicted to 
and it would also be cool to use 
to accent just one stenciled row 
& allow the color to show thru...

there's lots of possibilities with 

LOVE the large sentiment from an earlier release...
combined with a new one...

the heart was cut from 

the black heart is embossed 

after the powder cooled, I added 
to the center, with the new remnant rub tool...

you'll also see subtle text (LCS037 botanical art) stamped in the background with watering can archival...


Megan was stamped with jet black archival, onto newsprint that was added to
the clear version of
with glue n seal...
then I cut her out...


I used fern green with the sunburst stencil, to give her a halo effect...

I changed the flower in her hair & used just the flower from this stamp...

 the flower was stamped twice onto CFA that is covered with newsprint...

after heating the CFA, the flower can be shaped for dimension...
I LOVE this adhesive foam for layering & for adding CFA to projects...
and it's black, 
so it's not noticeable between the layers...

oh...that little butterfly...
stenciled onto CFA newsprint & cut out to create a custom embellishment...
it's attached to Megan with the tiny attacher...


the stencil binder comes with a medium ring, 
but as your stencil collection grows, 
just change the ring to a larger size...
the binder will grow & can hold as many stencils
 as fit on any size ring...

shipping update!

stamp sets, SiSi's, background stamps and stencils started shipping a few weeks ago...

 early this week...
be watching your fav store...
or check out your favorite on line...


now about that GIVEAWAY...


since I LOVE my blog friends...
I'll give this NEW stamp set to a random commenter...


it has my favorite little hosta stamp & also the flower I used today in Megan's hair...

I chose this set because the LOVE sentiment in the lower right corner is perfect 
for Valentine's Day...

just leave a comment & you're entered...
super SIMPLE!
Rick will draw a random winner before the next blog post...
GOOD LUCK!

no chocolate for me...
I'd rather have supplies to...

make art!
wendy
ps...
I hope your Valentine's Day is PERFECT...


Friday, January 23, 2015

splattered plaster technique...

using NO PLASTER!

the studio looked like a scientific experiment was taking place...

I had an idea...
which was based on the properties of the ingredients below...

they are dye inks, which are OIL based...
and
another dye ink, 
but all the distress inks
 are WATER based...

because it's white, 
 keep in mind that the picket fence spray stain
has pigment in the solution which makes it opaque...

so,  just like salad dressing, 
oil & water don't mix...

this was the basis for the idea...
I *hoped* to take advantage of that
 incompatible (when wet ) effect...

I added one last ingredient...
the bottle on the far right is rubbing alcohol...
aka...surgical spirits in the UK...


it went like this...

I swiped the sky blue  & hydrangea archival ink pads onto the craft sheet...


then added plenty of rubbing alcohol... 

& mixed the alcohol into the inks with a palette knife...

then after shaking the picket fence distress spray stain,
I misted the archival ink/alcohol solution with 
ONE blast 
of the picket fence distress spray stain...
one pump is plenty...
I tried 2...it was too much for a small tag...
but I would use more picket fence 
for a larger art journal page or canvas...

***DO NOT MIX this SOLUTION***...


I swiped a manila tag into the inky solution...

the picket fence on top of the archival solution actually looked like curdled sour milk...

here's a wet not yet dry tag...
see those plaster chunks?
this is using tea rose archival ...


now back to the dry sky blue/hydrangea tag we started with...


the picket fence "curdled chunks" dried & have created awesome texture &
 they now they look like...
 splattered plaster!

you can not get this random cool effect with embossing powders, embossing pastes or texture paste...
it's very random and 
much different in appearance...


now this is cool...

before you dry it, you can actually move the chunks or curdles around...
that's pretty fun...

they aren't stuck to the tag until it's dry...
when dry, the chunks are baked into the tag & permanent...
like this...


 it was fun to work over that cool background...

I used watering can archival with 
the new ruffles border to stamp along the bottom of the tag...


next, I wanted a thin border at the top of the tag...
after inking the ruffles stamp
 again with watering can
I pressed the tag onto the inked ruffles stamp...
I only wanted that small straight trim piece...
you can see that below...


I inked the old wood floor background stamp with tree branch & pressed it over the tag...

then used jet black to stamp the lace border at the top & bottom of the tag...


so far it looked like this...
sort of shabby chic!


I added sky blue, then hydrangea archival to the tag edges...


then gathered twigs to the edges & gathered twigs very lightly over the whole tag...
LOVE LOVE LOVE how this is looking...


now for the cute mat mini pitcher...

I inked the new stripes stamp with 
pressed the pitcher onto the inked stamp, then sprinkled on watering can embossing powder...
and heated the powder to melt it...

you can see the embossed mat mini pitcher 
sitting on the stamp...


to create the flowers
I glued a sheet of newsprint to a sheet of CFA (clearly for art) with glue n seal...
then stamped the hydrangea SiSi
with jet black 2 times and 
cut out one full hydrangea image & 
a partial of just the flowers...

the flowers were inked with sky blue & a bit of hydrangea & the leaves were inked with leaf green over all the leaves, then fern green right under the flower, to create the shadow effect...
the SiSi stencil makes this so easy...
it masks off the flower...

I heated the CFA to soften it so I could shape the flowers...


here's the back of the mat mini pitcher...
after the second layer is added to the back, the hydrangea stem slips right in the slot...


 is the perfect way to add the flower layers...
and I also like to use the foam to add the flower to the tag...
it adds just the perfect dimension & 
the black isn't distracting, 
when viewed from the side...


here's the assembled flower...
I like to offset the layers...
it seems to make the flowers more realistic...


next I stamped the sentiment in jet black archival...
and glued my pitcher in place...


then slipped the flower stem into the pitcher...
the adhesive foam holds the hydrangea securely to the tag...


I wanted to add just a tiny bit of bling...

so after shaking the pewter distress stain, I tapped it onto the craft sheet & used
to add dots...
the ball end of the tool makes PERFECT dots...
you can tap the ball end onto the craft sheet into the stain or onto the wet dabber top & dot away...

and this tool is really great for adding rub ons to surfaces...
a MUST HAVE!


I also used the stain to accent the top & bottom of the tag...

I LOVE the mat mini pitcher, the texture & that hydrangea for sure...
I like to use the black Sakura glaze pen 
to add dots to the flower centers...


and  here's the completed tag...


this was so much fun that I couldn't quit...

I tried several other color combos & now I have some tag bases just waiting for me...
first I tried
tea rose & tree branch with picket fence...


here's the result...

here is the wet tag...


and here's the dry tag...


 I just HAD to make another...
this time I tried
watering can & tree branch archival 
with picket fence...


that combo made this great background...


so this experiment paid off...
I absolutely love this technique & I LOVE that we have another way to use the supplies we already have, in a completely different way...

it's fun to play & try ideas...
sometimes we just need to remember 
that it's only ink & paper...

remember...
it's it's ugly...
it goes in the trash...
and you never tell a soul or blog about it...
haha!

so...
have I inspired you?
are YOU going to try it?

tell me...

what color combo are you thinking about?

***if you've read this far***
how about a giveaway?

I have this stamp set, compliments of Ted...
for a lucky commenter...


just
leave a comment...
& Rick will choose a random winner...

I hope you can take time this weekend to have fun and...

make (splattered plaster) art!
wendy