

back in August I had an idea...
I wondered if I could use my archival reinkers, mixed with rubbing alcohol to make...
ARCHIVAL SPRAY INKS...
OH YES...
the experiment was successful &
I've been using loving them since then...
I first test drove the idea with a mini mister, using rubbing alcohol & a few drops
I LOVED it...
but there wasn't enough volume, so I switched to the regular size misters & they are perfect!
I started with just one reinker color,
because I wasn't sure if the colors would remain stable in the alcohol...
so far so good & these have been mixed for over 5 months...
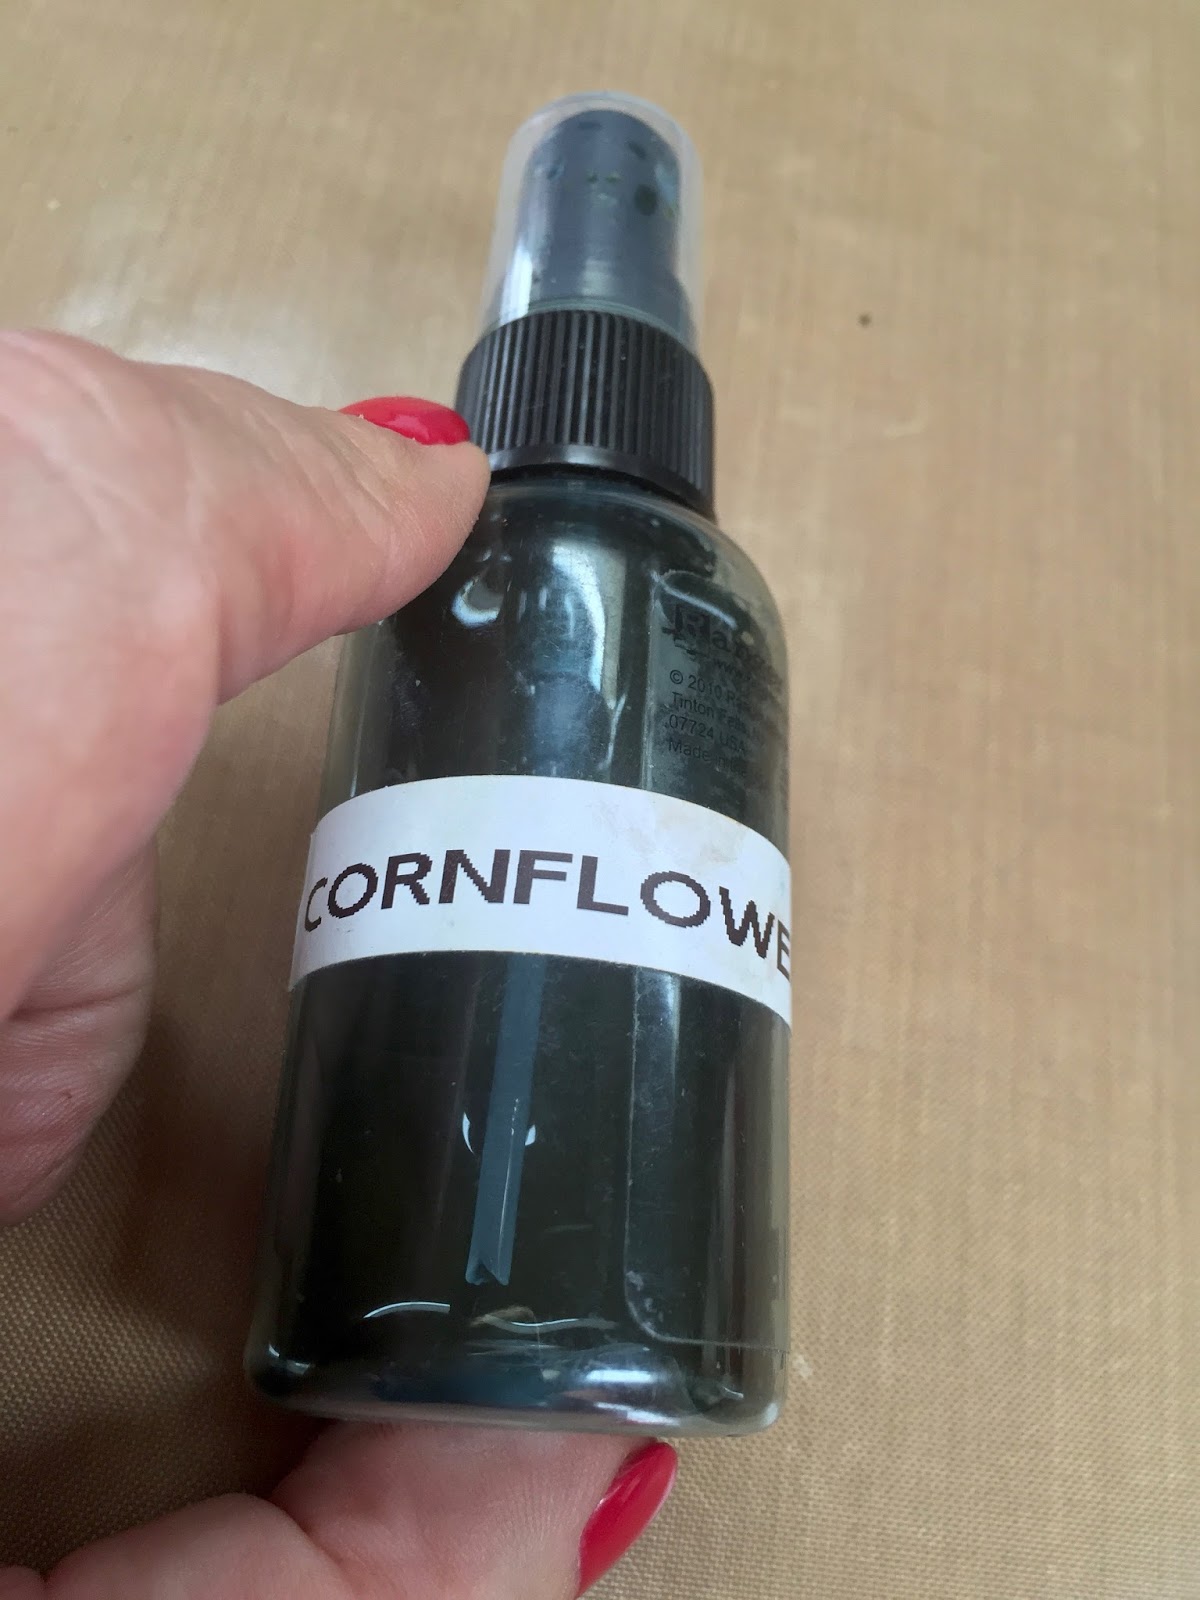
I started with cornflower blue...
I really loved it...
then mixed up some orange blossom, tree branch & sky blue...
LOVED them too...
grab tree branch before it's gone...
this is a really good one to use with so many colors like...cornflower, sky blue, watering can, orange blossom, tea rose & more...

then I mixed up
watering can, pink peony & fern green...
I just ordered a few more misters,
so I can have more options soon...
so why archival sprays?
because they are permanent,
allowing distress or archival to be used over them, without changing the basic spray pattern...
if you are heavy handed,
the fluid doesn't warp the surface...
bonus!
you can vary the color to suit your needs,
which is kind of cool...
I'm even thinking custom colors...
spraying the inks gives good control for color placement on the surface...
after filling the misters about 75% full of 91% alcohol, I started to add reinker drops until I liked the color...
add some drops...
mix it up...
add a few more...
perfect!
I'd say for most of them I used about 25 drops of the archival reinker...
I'm especially dying to get
I know that's one I'll use often as a spray...
and tea rose...
and...
I labeled them & covered them with
to keep the labels waterproof...

because I didn't plan a tutorial for this tag,
I don't have a photo of the plain archival ink sprayed tag...
but I'll explain the steps...
I love the distress sprayer...
I have 2 of these at arms reach at all times...
one is filled with water & this one, marked with washi tape, contains rubbing alcohol...
this is super convenient...
if I've stenciled with distress,
water will clean the stencil...
if I've stenciled with archival,
the alcohol quickly removes the archival ink...
I'd say I decreased the use of alcohol by about 50% when when I switched to
there's way less waste...
that surprised me & it's an added bonus...

there are 2 ways to start...
you can mist the tag with alcohol before spraying the archival inks...
this dilutes the inks for a softer more blended background...
or you can mist the archival inks directly on the tag for a more concentrated color...
I like & use both ways...
for today's tag
I misted with alcohol first,
sprayed on the archival colors
dried the tag...
the huge amount of fluid does not damage the tag at all...
now look closely at the subtle
words in the background...
make sure to have a clean stamp...
I used the distress sprayer to add some rubbing alcohol to the craft sheet, pressed my stamp into the alcohol ONCE, then stamped over my tag...
the rubbing alcohol bleaches out the archival ink &
adds another layer to the background...
again...
make sure to have a clean stamp...
otherwise, the alcohol will reactivate the ink & you'll be adding color instead of removing it...
next, I stenciled the leaves from
I used fern green on the bottom 2 sets &
leaf green on the top left leaves...
I used fern green to add a little stenciling border at the top & bottom of the tag...
then I stamped the 2 flourishes and the sentiment
I accented the lines with a gold metallic pencil & added some black glaze pen dots...

this next photo shows the red geranium polka dots from the new "lots of dots" stencil...
look closely at the bottom left corner...
see those bleached out dots?

I misted (distress sprayer) some rubbing alcohol onto the craft sheet, picked it up with the mini blending tool & rubbed over the "lots of dots" stencil...
this gives really good control to add the bleached dots wherever you want...
using the same stencil several times makes the project cohesive...
you want the blending tool to be moist...
NOT dripping wet...
if it's too wet, the fluid seeps under the stencil & you get larger dots...
which was what happened here...
but I can live with that...
on a side note...
as the foam on the blending tool picks up
the ink color...
it tints the foam, but it doesn't transfer the ink later...
I've been using the same foam since August...

here's a better look at the bleached out
I love the effect...
if you're a cardmaker...
it's completely flat...

I had this flower left over...
it's clearly for art, covered with newsprint paper...
NEW FLASH...
YES...glue n seal is discontinued...
check your local store...
or
I found it here...
and here...
and at Stampers Anonymous and
we'll have it at conventions, until we run out...
I think I used sky blue & stamped the botanical register stamp with potting soil...
it's edged with the

the flower needed a center, so I used
the green is one of the buttons inked with fern green, then embossed with FROSTED fern green embossing powder...
to make "FROSTED" embossing powder,
just mix equal parts of frosted crystal embossing powder with colored embossing powder to decrease the shine & give it more texture...
the new mat mini heart was inked with red geranium & embossed with the custom brick embossing powder...
you can actually see the red geranium, orange blossom, watering can embossing powders...
the cool texture is from the frosted crystal...
since I was thinking of a LOVE theme...
I used red embroidery floss to sew the X (kiss)...
get it?

and here's the finished tag...
I added some remnant rubs to the mat mini heart & to the left side of the flower...
I also used the glaze pen to accent the flower center...

trust me...
archival inks as a spray are
SO FUN and
another way to use something
I bet you already have (reinkers)...
start with one archival color and see how it goes...
here are some pieces that have the archival sprayed to create the start of the background...
this started with these sprays...
orange blossom & sky blue...
with plenty of rubbing alcohol first...

this one is pink peony and cornflower blue...
I did go over it with brushed corduroy to shade it...
see those large dots?
that's what too much alcohol
on the blending tool does...
it seeps under the stencil...
oops...
but since I continued,
it looks OK...
almost like I intended it...
this was my test drive piece...

this one is tree branch with sky blue...
on a page from my new mat mini book...

this is orange blossom and cornflower blue...
sprayed on manila cardstock...

I've had excellent results on manila tags,
I tried it on watercolor cardstock,
with only fair results...
but it makes sense...
it absorbed the fluid,
just as watercolor cardstock should...
specialty stamping paper works too,
but creates a different look...
use less alcohol,
does not absorb the fluid...
tim's new YUPO alcohol ink paper works too!
that is one very cool surface!
more on that another day...
but you can check my Instagram page
to see 2 examples...
so that's what I've been playing with...
I invite you to return tomorrow...
I did a telephone interview last week...
YIKES...
I talk about how I got started...
funny stories about Mr. Stampers Anonymous...
he might kill me!
and I forgot what else...
I'll have the links for you tomorrow...
I hope you can
grab your reinkers and...
make art!
wendy
ps...be watching Instagram later today...
I'll show another example of the archival spray background...
pss...I've not heard from the winner of my last giveaway...
if you know jezebel...send her here...
if I don't hear from her by tomorrow's post...
I'll have Rick choose another winner...
and...
the winner of this prize is...

congrats to...
 Stephanie Rodgers said...
I love these little bird houses! They're just too stinkin' cute!
please email me with your address...
shhh...
I think I'll have a giveaway tomorrow too!
see you then...