

I have a fun technique to share today...
just like the title says...
it's grid block stamping...
grab 2 or 3 distress pads...
I chose wild honey & broken china...

grab a mister filled with water, a grid block & any stamp...
since the grid blocks are thin,
the UN-INKED stamp acts as a handle...
I chose a 3 x 4 inch grid block...
and added a stamp to the middle...

swipe the ink pads directly onto the grid block...
mist with water & press onto your chosen surface...
I used Ranger's manila card stock...
same material as the tags we love...
look how cool...
dry this before moving on...

next grab a background stamp & some saffron archival...
I'm using my honeycomb background...
ink the stamp, then press the grid block onto the inked stamp, to pick up the honeycomb pattern...

press the grid block over the rectangle...

remove the grid block & dry...
plan B is to use post-its to block off the area,
but the grid block is a perfect fit...
don't panic...
rubbing alcohol will remove off the archival from the grid block...
ah...just what I wanted...
a random honeycomb background,
and it's only over the rectangle...

next ink the edges with scattered straw...

add some walnut stain...

put the grid block back in place to mask the rectangle...
then using the detail water brush, filled with water,
tap the brush sharply onto your finger to add water droplets to the edges only...
let the water sit a few seconds before drying...
since distress inks react with water,
it makes a really easy/subtle pattern in the background...

use a waterproof pen to add doodling detail to define the rectangle and the card stock edges...
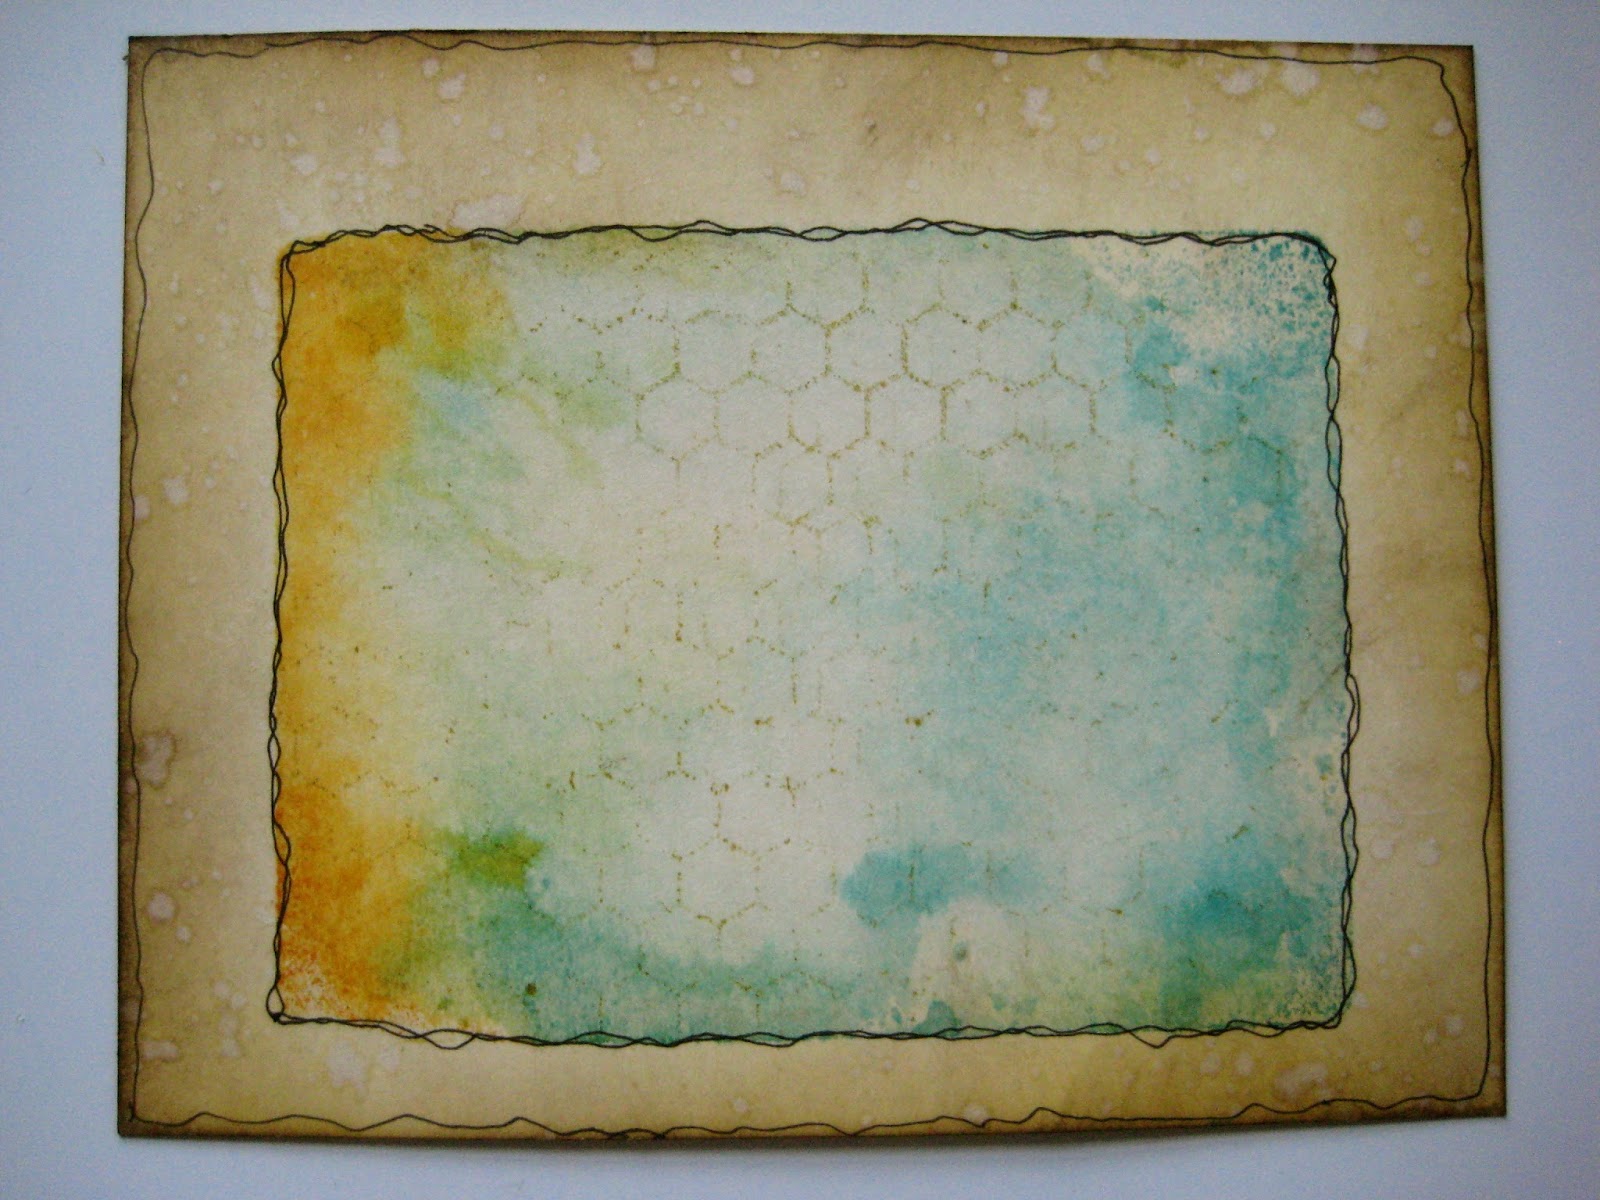
ok...
bad news...
now here's where the technical difficulty happened...
I was having so much fun, that I grabbed some new stamps...
duh...
hello...
I can't show them just yet...
some days my brain does not work...
so here's the best I can do for now...
you'll see that I used some broken china stain on the water brush to add some random inky dots...
I did put the grid block back to mask off the rectangle, before adding the dots...
I wanted the inky dot only outside the rectangle...
just pick up the stain with the water brush & tap over the chosen area...
I used black soot on the blending tool to stencil some numbers...
just move the stencil down & you can create any sized numbers border you need...
the little peek in the bottom left corner is this bird stencil...

this is a great technique for a card front, a tag or an art journal page...
I've been doing this if I have a hard time getting started...
just get SOMETHING down & it seems to speak to you & lead you to what comes next...
with 9 grid block sizes...
there are plenty of choices for the rectangle size...
and there's a cute 2 x 2 square too...
now about that winner...
thanks & CONGRATS to
 Lori said...
Can't wait to see the new stencils! That is an awesome tip about the hitch fastener...hmmm.....as for a tip, how about the old standby...odd numbers are better! Pretty lame, I know, but that's the only one that comes to mind right now. LOL
please send me your shipping info & hubby will get a little package off to you...
BREAKING NEWS!
I'll start showing new products on the 10th...
with the grand finale on the 17th...
until them...
here's a little share...

when I showed this to Rick he said & I quote...
"well, that's certainly the truth"...
lol...
it just happened to be right after the credit card bill arrived!
YIKES!
happy weekend...
I hope you'll try grid block stamping when YOU...
make art!
wendy
ps...let me know how you like this fun technique!
